Monday, August 2, 2010

Easy Peasy Crib Skirt

It took less than an hour. And for a good chunk of that I was chatting to friends and family on the phone, meaning that it didn't exactly take my whole concentration. There was no sewing involved - just some quality time with the iron.

And it cost around $30.

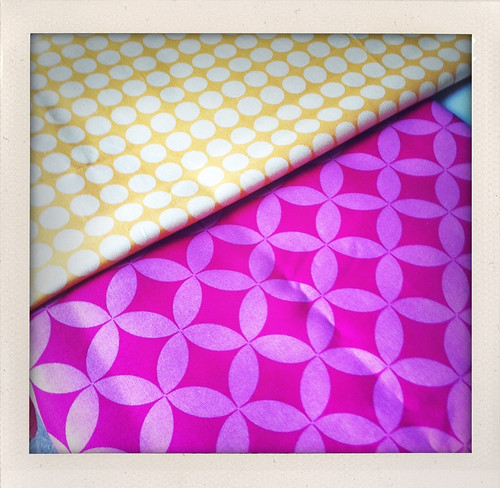
It could have been cheaper only I fell in love with some yellowy orange-y polka dotted fabric and couldn't pass it up.

fabric

We'll use that pink one for other little projects.

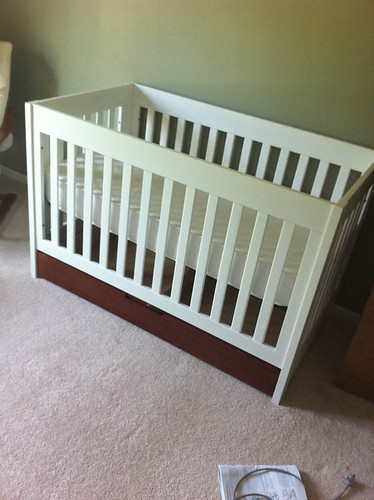
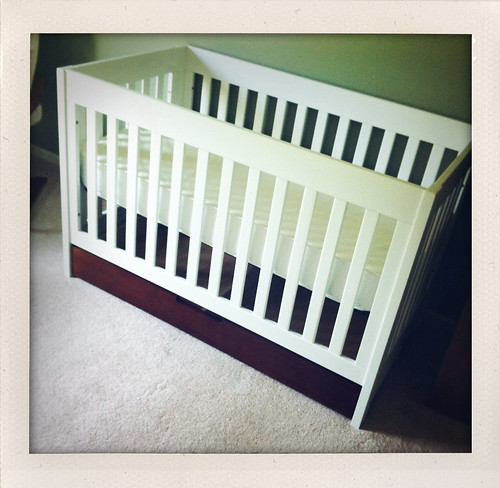
Here's our crib:
0715_9184bl

It was always our plan to go with some DIY crib bedding + basic solids for sheets, as opposed to an entire bedding set. For one, we have more control over the fabric selection. For two, it's a much cheaper option, which works out nicely in our baby room budget!

We'll only use this crib skirt until she's big enough to pull herself up - at which time we'll drop the mattress down to the bottom position on the crib so she can't climb out. And once the mattress is down all the way it'll sit right on top of the storage drawer - no skirt needed.

I followed the great directions from Young House Love (my favorite DIY/decorating blog!) and was totally impressed with the sheer simplicity of it.

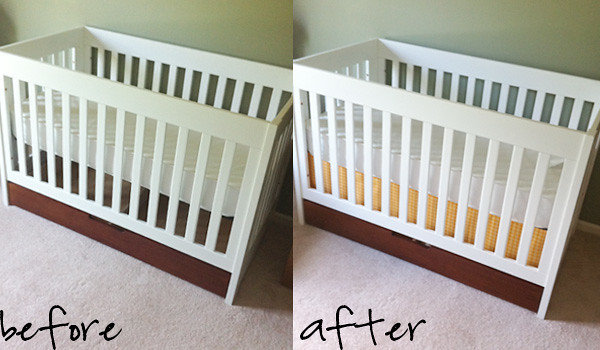
The crib skirt only needed to cover the gap between the raised mattress and the storage drawer. I started out by measuring the space I needed to cover, and jotting some notes. I added 2 inches to each measurement so that I would cut enough material to be able to hem up the sides.

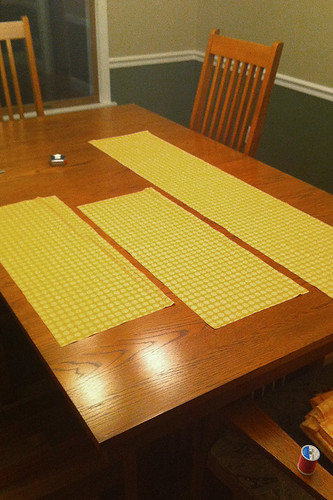
I laid out the yellow fabric on our dining room table, and measured out the pieces. Thankfully this material has a nice, regular pattern. It made for easy measuring and cutting! I'm sure that most seamstresses would frown on the use of an ink pen, but I knew those marks wouldn't be seen.

0801_9079bl

After cutting, I had three separate panels - one long one for the front and two smaller ones for the sides. I figured that since the back of the crib is against the wall, a fourth panel wasn't needed. I'll save that material for other things, rest assured!

0801_9080-1bl

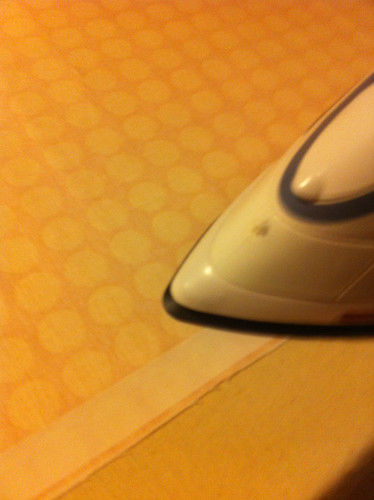
I then ironed Heat n' Bond tape onto the very edge of the flipside/underside of the panel. Once it cooled, I took off the paper and folded it over. One more run across with the iron, and it was set. I repeated this process for all four edges of all three panels. A quick and easy hem. No sewing needed.

0801_9081bl

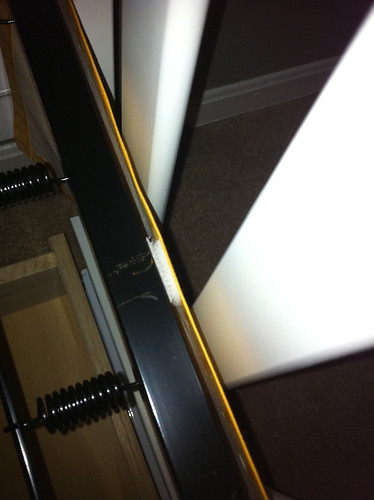
To attach the three panels, I simply used little strips of velcro. Hot glue holds one velcro side to the metal part of the crib. Heat n' Bond tape holds the other velcro side to the top of each panel. And yes, that's some crayon I used to mark out where to glue on the velcro. But since we put the mattress right on top of the metal, we'll never see those marks.

0802_9066bl


0802_9221bl

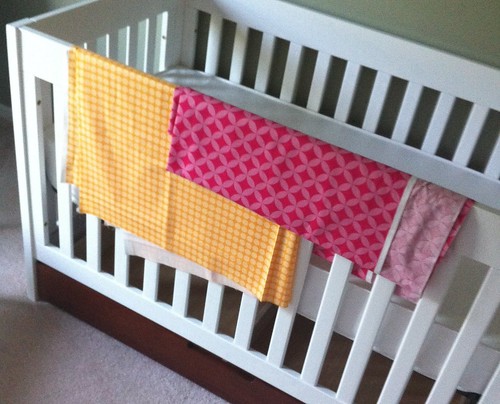
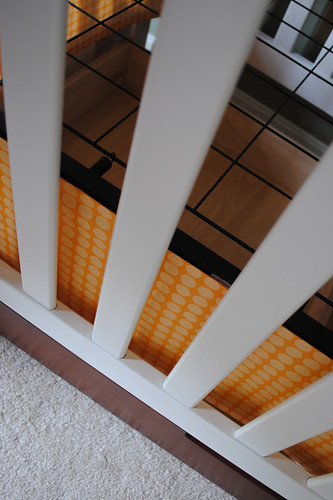
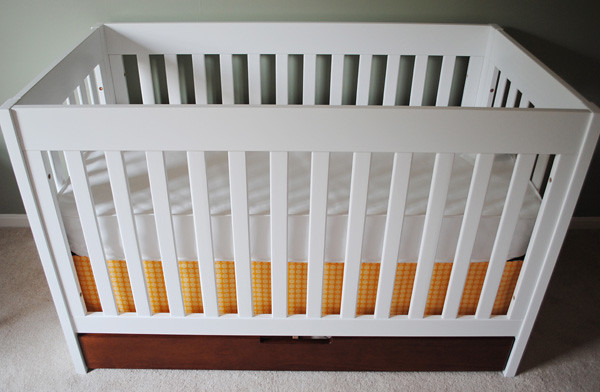
And now? $30 and 45 minutes later?
0802_9223bl

It's exactly what we were looking for.
0802_9566bl

Now we just need some coordinating sheets - AND a baby, of course.
0802_crib comparison

Wednesday, July 28, 2010

Saturday, July 24, 2010

Favorite Moments: Scandinavia, Part 2

Yes, we're fully aware that it's been a MONTH since we posted the first installment.

And we've been back from Europe for a solid 6 weeks.

Can we say lazy bloggers? Yes, yes we can.

But better late than never, right? Here's Josh:

St. Petersburg

Before we left on our trip, this former capital of the Russian Empire was probably the thing that I was most looking forward to seeing. While it may not have completely lived up to these lofty expectations, it’s safe to say that it was definitely a highlight of the trip.

When Peter the Great founded St. Petersburg in 1703, his goal was to create a capital that would rival the great capitals of Western Europe. With his love of all things Dutch, it’s very easy to see the influence that Amsterdam had on the layout of the city. Being in St. Petersburg, however, we saw many similarities with a host of European cities. It has the “history on every corner” feel of Rome, the grand avenues of Paris, and the seedy, somewhat neglected reality of Istanbul. Above all of this, it just feels like an incredibly important city, and it was great to get a chance to spend a day exploring it.

Unfortunately our experience was restricted a little bit by the Russian government. They don’t allow people into the country on their own without a tourist visa that is relatively difficult to get. In order to get around this, we had to sign up for a tour group to get into the country in the first place, and we had difficulty getting around to all the sights that we wanted to see.

To focus on what we did see, however, we started with a great tour of the Hermitage – the grand museum that accompanies several buildings including the magnificent Winter Palace of the tsars. We toured the Peter and Paul Cathedral that houses the tombs of the Romanov dynasty and spent some time at the onion-domed Church of the Savior on Spilled Blood. This magnificent church was built on the spot where Tsar Alexander II was assassinated in 1881.

We really appreciated St. Petersburg, and we’d love to go back someday with a tourist visa and a more relaxed timeline to gain an even better appreciation for this fascinating city.

St. P

Bergen

We only spent a few hours of our trip in Bergen, but that was definitely enough time for it to rate as one of the highlights. This city on the North Sea has a long, important history as the one time capital of Norway and prominent trading city in the Hanseatic League. Although Bergen has certainly added the modern flourishes that you see throughout Norway, it has maintained much of the old-world charm that sets it apart.

We had heard that good weather was rare in Bergen, one of the rainiest spots on the European continent, be we were fortunate enough to have exceptional weather for the evening that we were there. To take full advantage of the weather, we decided to take a ride up the funicular railway to the top of Mount Floyen for the spectacular views over the city and the harbor. From this vantage point, the city is quite reminiscent of Seattle with water practically surrounding the city.

Bergen used to be the largest city in the world that was populated exclusively with wooden buildings, and a piece of this heritage is still on display in the old harbor district. These buildings (most of them leaning in one direction or the other) that used to serve as the focal point of trade in the city have been turned into a quaint (although not overly touristy) collection of shops and restaurants.

On the whole, Bergen was a very walkable, very charming city that allowed us to see another side of Norway. We wish that we would have had more time to spend in Bergen, but it was a fun place to spend a few hours and it really emerged as one of the most memorable stops on our trip.

Bergen

Tallinn

Our second favorite stop on the cruise, Tallinn proved to be a very unique destination. Where it was easy to compare some of our other destinations to places we’ve been in the past, this well preserved medieval (get used to reading that word) city was unlike anywhere we’d ever visited. The streets were narrow, curvy, paved with cobblestones, and a pleasure to walk around; the architecture ranged from massive medieval guild halls to the onion domes of the Russian Orthodox Church. If not for the hordes of English-speaking tour groups (I realize that it’s somewhat hypocritical to criticize tourists) and the ugly Soviet-era apartment towers that dotted the horizon, it may have made the top spot on our list.

This city really has a fantastic history. In the early years, it was controlled by the kings of Denmark and developed into a powerful Hanseatic trading town like Bergen. It then passed to Sweden and Russia before briefly becoming the capital of an independent Estonian nation. It wasn’t too long before it was overrun by the Soviet Union the city suffered under communist rule for over 70 years before successfully breaking free in the Estonian “Singing Revolution”.

The Soviets certainly didn’t do Estonia any favors, but at least they had the sense to leave the Old Town alone. From the magnificent viewpoints in the upper town to St. Olaf’s church (the soviets set up jamming equipment in the spire to block TV signals coming across from Helsinki) in the heart of the lower town, the city was packed with compelling sights. Out of everything, however, my favorite spot was the spacious main square of the lower town. The medieval (there’s that word again) town hall is featured in the center of the square and outdoor cafes are set in a ring around the outside. It was a great spot to take in this great city, and we really enjoyed the time that we got to spend in Tallinn.

Tallinn

Thursday, July 15, 2010

Nursey, Continued.

Not only does our nugget have a bookshelf, her room is now fully equipped with furniture.

We've got a crib...

(Walmart)

A ceiling fan...

(Home Depot)

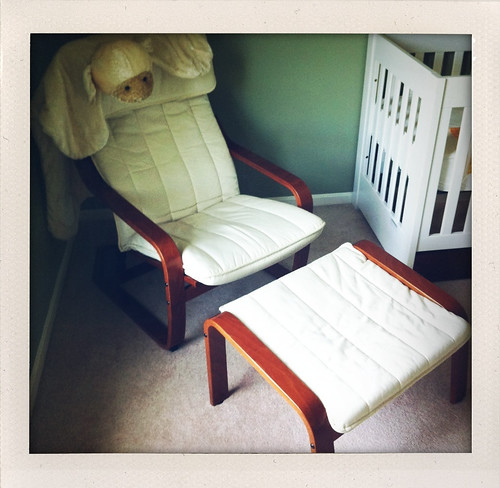
A chair...

(also Ikea, from years ago)

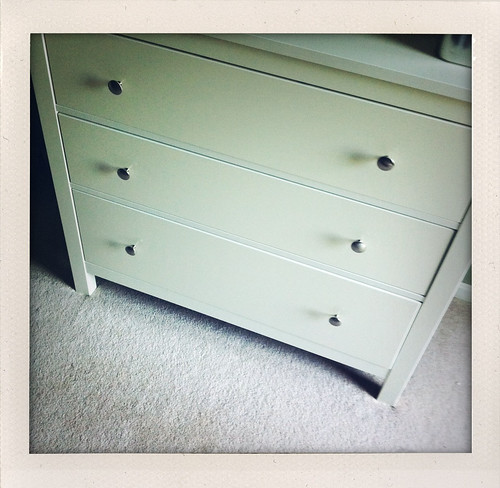
And a dresser...

(Ikea)


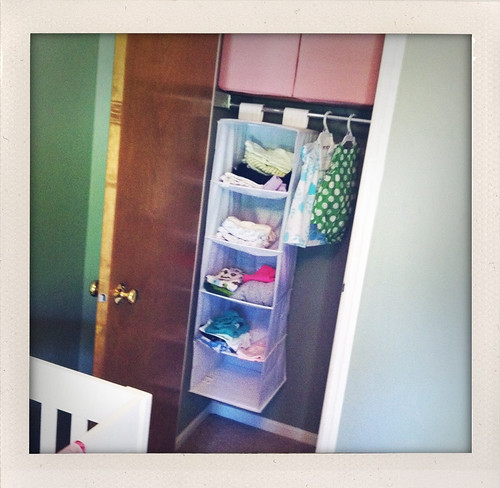
And her closet? Weellllll.... I may have not been able to resist a couple of cute sundresses for next summer. And an option for a going home from the hospital outfit. Plus we've gotten some great hand-me-downs.


And these? We'll use these fabrics for all kinds of fun little touches. You know, to bring in some pops of color around the room. First up: a crib skirt. Stay tuned.


Also, I'm totally enjoying playing around with iPhone photography apps. My favorite so far is the one I've used for this and the tomato garden post, which makes the photos look like they're polariods. I like the effect.

Monday, July 12, 2010

Fresh Tomatoes

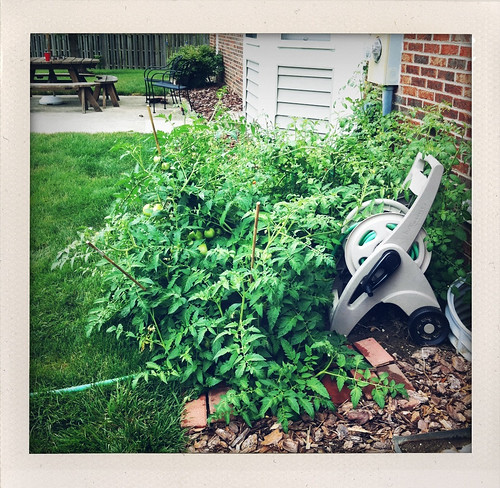
So I have a tomato garden, of sorts, behind the house.

I've never grown any vegetables before. I still don't know what I'm doing.

I think the plants are overgrown. They spill out onto the lawn. Is that normal?



The stakes I put in last week are now falling over.


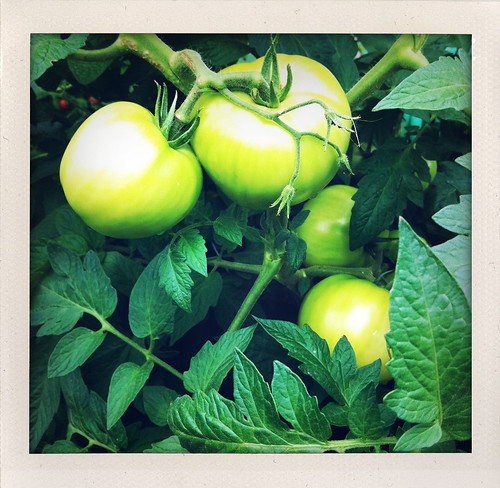
But I'm seeing good things happen back there. Hard to believe these were once the itty bitty plants we bought for $2 each back in May.

These big guys are getting bigger. But not any redder yet.


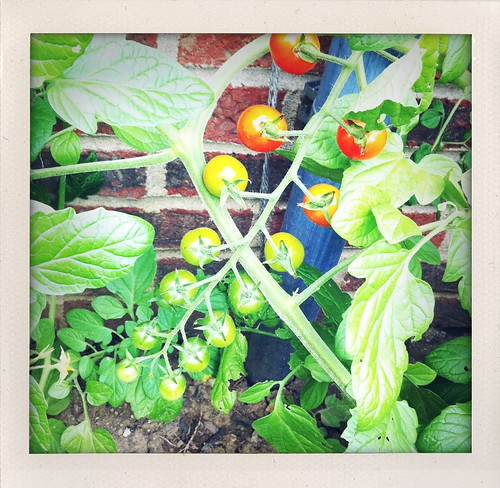
And then there's these little ones... amazing! They grew RIGHT out of the ground!


I picked a handful of the little guys to add to my salad for lunch.


And let me just tell you - they're scrumptious.

Friday, July 9, 2010

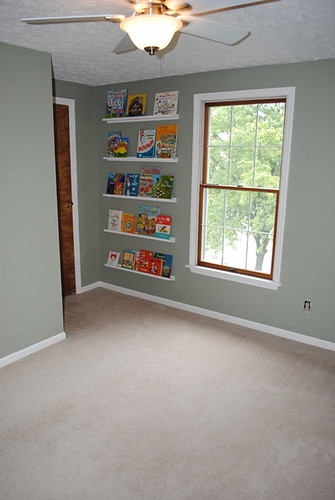
Nursery Shelves

I know, I know. You've been waiting with bated breath for the update.

After priming and painting, the next project on our list was to build some basic shelves for the room.

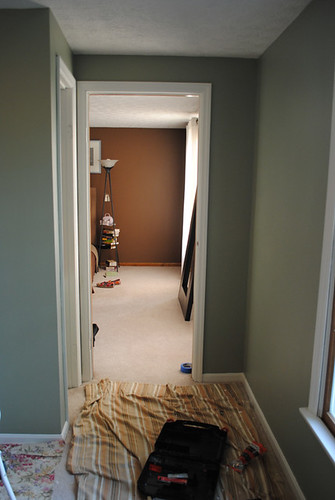
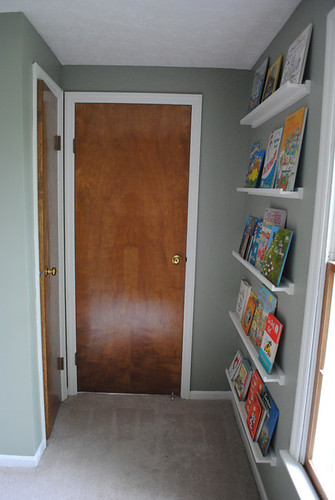
The bedroom we've chosen for our nursery has a slightly odd shape. For the most part, it's a standard rectangle. But there's a little spot in one corner that connects it to our bedroom. A pass-through area, which I'm sure will come in handy for middle-of-the-night feedings.

0704_8983bl

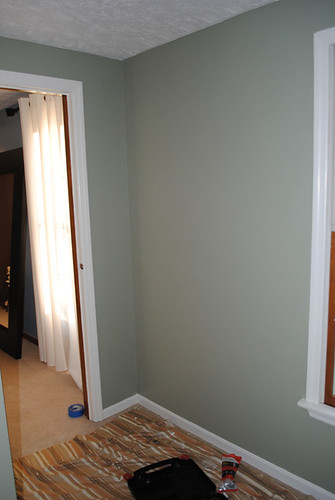
In this corner are two doors. One leading to our room, one for an over-the-stairs closet. This leaves a nice amount of wall space, but no room for furniture.

0704_8985bl

We're all for maximizing storage spots around here, especially in a smallish nursery. So awhile ago I dreampt up the idea to add shallow shelves to the wall. I knew they could only be a couple of inches deep, or otherwise I'd make the pass-through spot too narrow.

Shallow shelves are perfect, in my opinion, for a couple of reasons:
1. They fit in a tight spot. Without them, the wall is wasted space.

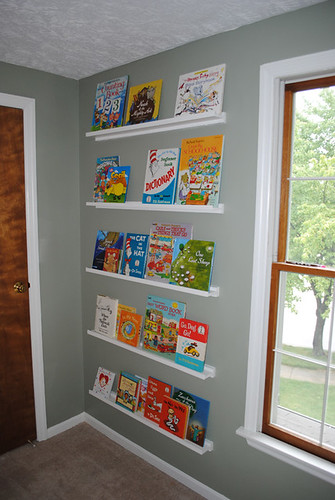
2. They're great for displaying books face-out. It'll be fun for our nugget to someday get to see a variety of her favorite book covers at a glance, as opposed to just the spines of books on a traditional bookshelf.

3. They make for a nice visual for an otherwise blank wall. No artwork/photographs/etc needed! The shelves and books are they're own artwork, of sorts.

4. They're flexible. In the future, when our nugget is 10 and doesn't want to display Dr. Suess anymore, we could use the shelves for framed artwork, family pictures, or any kind of knick-knack she might be into at the time.

So where does one find such shelves? Keep in mind they need a little lip on the front so that face-out books stay in place. We didn't know where to even start looking for them. So we just made 'em ourselves. DIY all the way, baby!

We bought wood, wood glue, wall anchors, screws, and clamps at Lowe's. I think they worked out to cost us $6-$8 per shelf. Not too shabby.

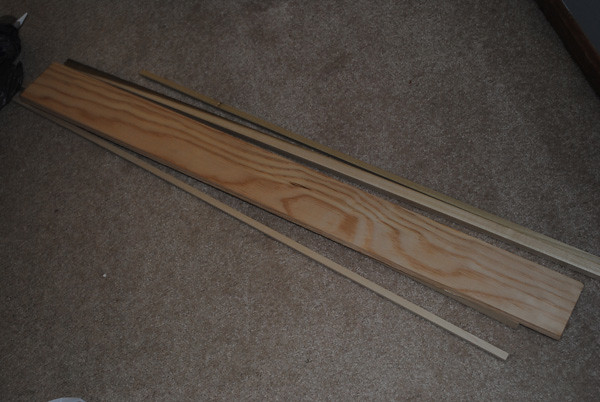
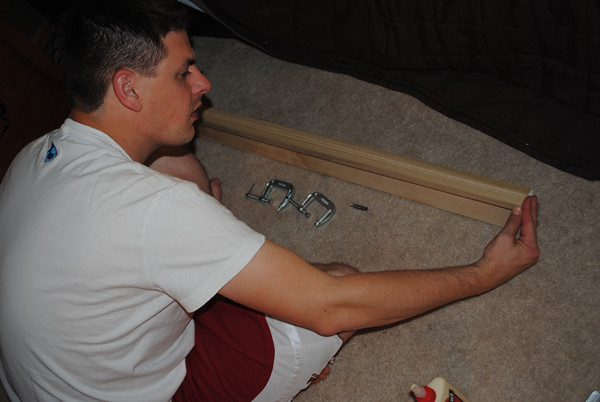
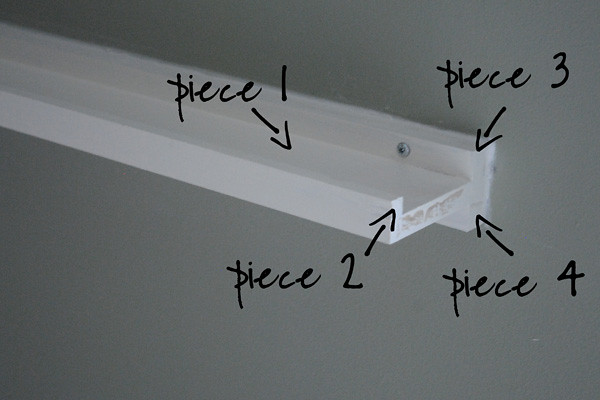
Each shelf consists of 4 different pieces of wood, but YAY they happened to already be cut into the length we wanted - 3 ft.

0704_8980bl

Piece 1: 3 1/2 x 1/2 inch
Piece 2: 3/8 x 3/8 inch dowel
Pieces 3 & 4: 5/8 x 5/8 inch dowel

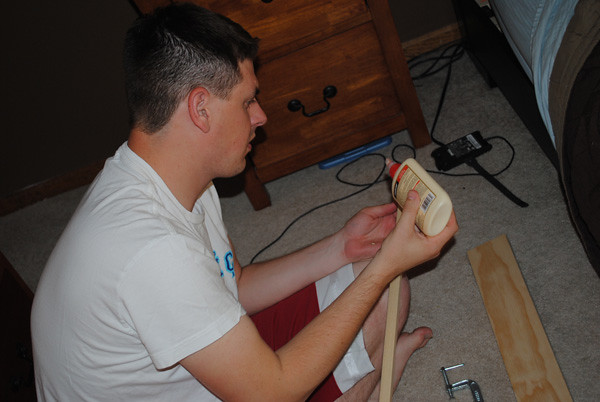
Piece 1 was the actual shelf part, Piece 2 was the lip, and Pieces 3 and 4 were to be used to secure the shelf to the wall (one on top of the shelf, one on bottom). We used wood glue and clamps to put them all together, and then drilled a screw through Pieces 3, 1, and 4 along the back of the shelf for extra support.

0704_8981bl

0704_8982bl


They then got sanded, painted, and hung! We used screws and wall anchors to get 'em good and secure. I also ran a bead of painter's caulk around the edges of the shelves because not all of them were completely flush with the wall.

0708_8934-1bl

Next step: touch-ups! I also painted the screw heads white in hopes that they'd just blend in. Oh, and then added some books.

0709_8925-1bl

And now?

0709_8915bl

Josh's parents kept a lot of the books he read as a child, and they brought them to us a few months back. Love it!
0709_8907bl


0709_8906bl

And our project for this weekend? Furniture.
0709_8918bl

Tuesday, June 29, 2010

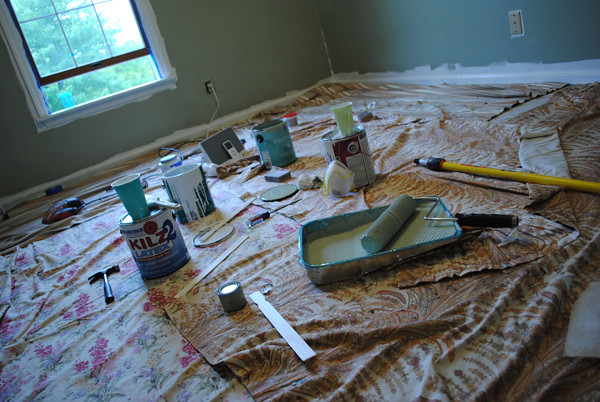
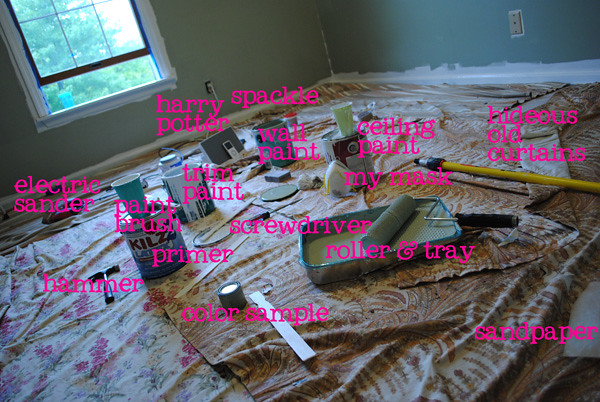
The tools of the trade.

Here's the current state of our nursery.

0627_8889bl

We never said we were super neat in the midst of house projects. Watching where you step in this room is crucial.

And really, we need all of this stuff.

0627_8889-1bl

But when we peek in here, do you know what we see?

0627_8889-2bl

And we like it, so far.