
And it cost around $30.
It could have been cheaper only I fell in love with some yellowy orange-y polka dotted fabric and couldn't pass it up.
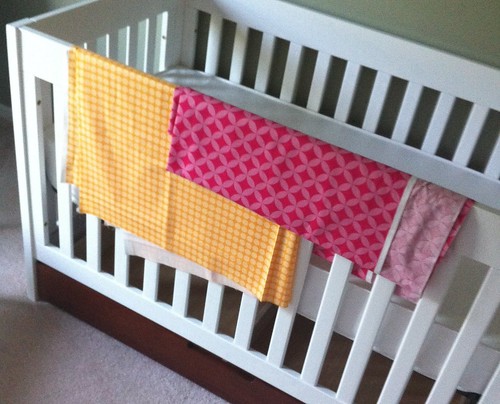
We'll use that pink one for other little projects.
Here's our crib:
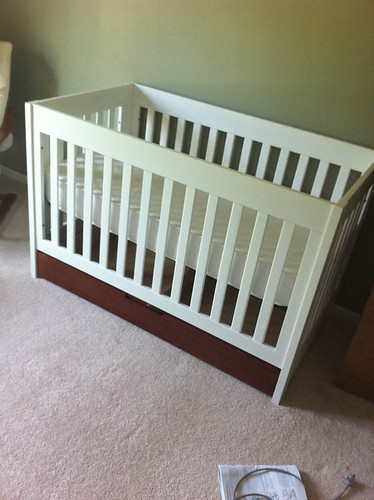
It was always our plan to go with some DIY crib bedding + basic solids for sheets, as opposed to an entire bedding set. For one, we have more control over the fabric selection. For two, it's a much cheaper option, which works out nicely in our baby room budget!
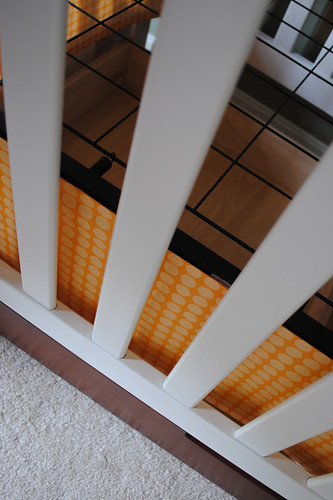
We'll only use this crib skirt until she's big enough to pull herself up - at which time we'll drop the mattress down to the bottom position on the crib so she can't climb out. And once the mattress is down all the way it'll sit right on top of the storage drawer - no skirt needed.
I followed the great directions from Young House Love (my favorite DIY/decorating blog!) and was totally impressed with the sheer simplicity of it.
The crib skirt only needed to cover the gap between the raised mattress and the storage drawer. I started out by measuring the space I needed to cover, and jotting some notes. I added 2 inches to each measurement so that I would cut enough material to be able to hem up the sides.
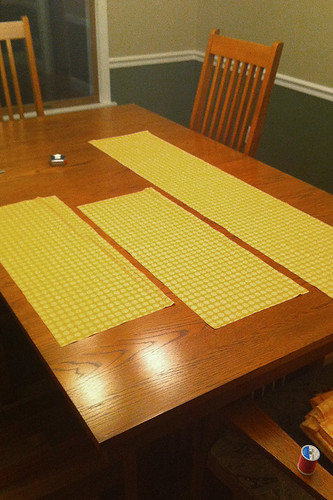
I laid out the yellow fabric on our dining room table, and measured out the pieces. Thankfully this material has a nice, regular pattern. It made for easy measuring and cutting! I'm sure that most seamstresses would frown on the use of an ink pen, but I knew those marks wouldn't be seen.

After cutting, I had three separate panels - one long one for the front and two smaller ones for the sides. I figured that since the back of the crib is against the wall, a fourth panel wasn't needed. I'll save that material for other things, rest assured!
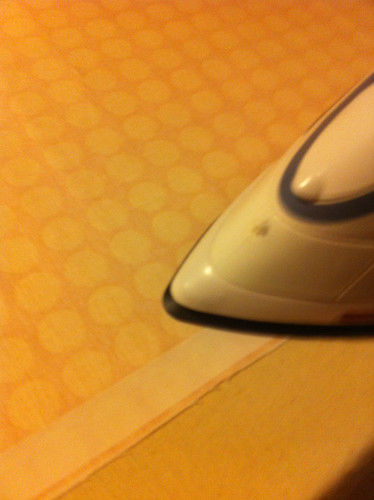
I then ironed Heat n' Bond tape onto the very edge of the flipside/underside of the panel. Once it cooled, I took off the paper and folded it over. One more run across with the iron, and it was set. I repeated this process for all four edges of all three panels. A quick and easy hem. No sewing needed.
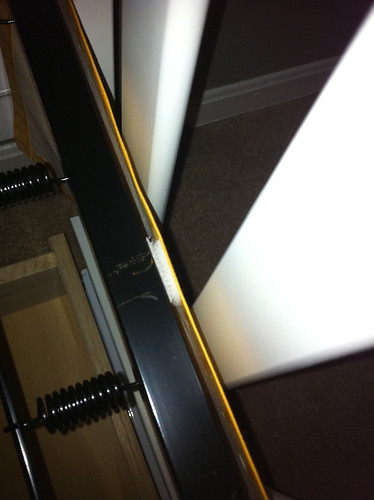
To attach the three panels, I simply used little strips of velcro. Hot glue holds one velcro side to the metal part of the crib. Heat n' Bond tape holds the other velcro side to the top of each panel. And yes, that's some crayon I used to mark out where to glue on the velcro. But since we put the mattress right on top of the metal, we'll never see those marks.
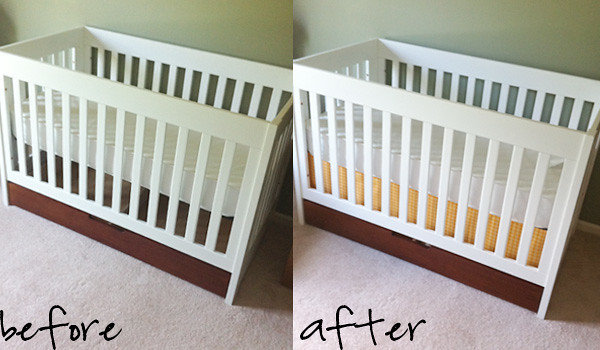
And now? $30 and 45 minutes later?
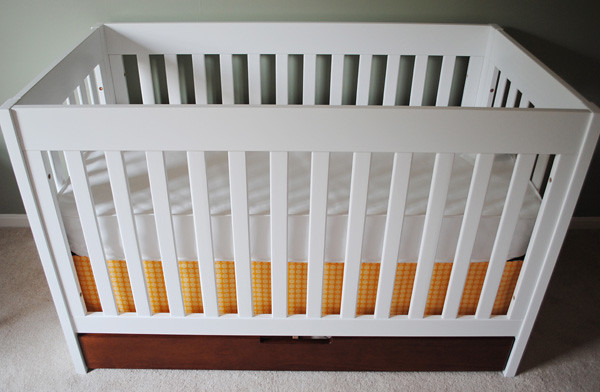
It's exactly what we were looking for.

Now we just need some coordinating sheets - AND a baby, of course.


2 comments:
I love that fabric! Great job :)
It was worth the money to use that fabric .... I can tell from the picture that it has enough "body" to hold it's shape whereas a thinner (and cheaper) fabric would not have done so. Great look!
Post a Comment