Wednesday, March 31, 2010

A Bloggy Giveaway - Basket Works

It's been awhile since I've done anything like this on this here blog. And it's just plain time to have a little fun around here with another giveaway!


Personally, I struggle with shopping.

Not for me. Ha! I like that kind of shopping. And not for the house. I also enjoy that. But I have a rough time shopping for good gifts for others.

In-laws. Josh's boss. Our neighbor that showed us how to install new headlights. The middle school girls that come over and let out the dog when we're gone.

I often want to find something unique. Gift cards are great, but it's nice to find something extra special and unusual sometimes. Plus, I appreciate good packaging.

Enter Basket Works. In their own words, they offer distinctive gift baskets for all occasions. Basket Works is located in Grand Rapids, Michigan, and ships all over the country.

logoonwhite


Baby gifts.


House Warming.


How about a Michigan gift basket, full of goodies local to the state of MI?


Birthday gifts.


How about for someone in the hospital?


You name it.

AND, they're partnering with this here blog to give away a special gift of your choice worth up to $75. SEVENTY FIVE BUCKS! And let me tell you, you can find a really nice Basket Works gift for $75! They'll ship the gift anywhere (in the US) you want it to go, or else deliver personally in the Grand Rapids, MI area.

What you do with it is your choice! Maybe you were trying to come up with a nice baby gift to send to an out of state friend. Or maybe you just want to get a basket o' goodies sent right to your very own home. You choose. I won't judge.

Here's how to win:

Click over to Basket Works and poke around. Leave a comment telling me what basket you like the best and who you'd give it to.

You can win up to THREE EXTRA ENTRIES by doing any or all of the following:

1. Become a Basket Works fan on Facebook - http://www.facebook.com/BasketWorks. (If you're already a fan, just let me know in a comment.)
2. Post a link to this giveaway on Twitter.
3. Post a link to this giveaway on your Facebook page.

You MUST leave an additional comment for EACH of these things that you do so that when I randomly select a winner I won't leave any one out. If you only leave one comment letting me know all of the things you did, you'll just get one entry.

This giveaway will be open until Friday night, April 2nd at 5:00pm. I'll find some kind of internet randomizer and do it up right.


And in the interest of full disclosure, you should know that Basket Works is owned by my mom and her business partner. They've been in business since I was a very little girl and I can personally attest to the quality and aesthetics of each gift they sell. And holy cow the gourmet treats are delicious. I should know - I've gotten lots of samples over the years.

And if I had a nickel for every time I got dragged along on a local basket delivery over the years...

Well let's just say I could buy all kinds of beautiful overpriced boutiquey baby stuff I have my eye on.

Thursday, March 25, 2010

Cheap-o Kitchen Remodel: The Details

So earlier this week our kitchen was mentioned on Young House Love and it drew all kinds of visitors to this here blog. I've never seen such bloggy traffic! It's exciting for little bloggers like me.

(And if you're new here, welcome!)

And since that YHL post, I've gotten all kinds of kitchen-related questions that I'm going to attempt to answer.

First, here are some kitchen-ish posts you may have missed:

Scenes from when we first moved in: Progress
Painting: Color Splash
Our black table & chairs: DIY Project #1 of 32453
Before/after light fixtures: The Difference a Light Fixture Makes
The curtain over the sink: The Master Seamstress
The in-between stage: Kitchen In Progress
And of course, the final product: The Kitchen

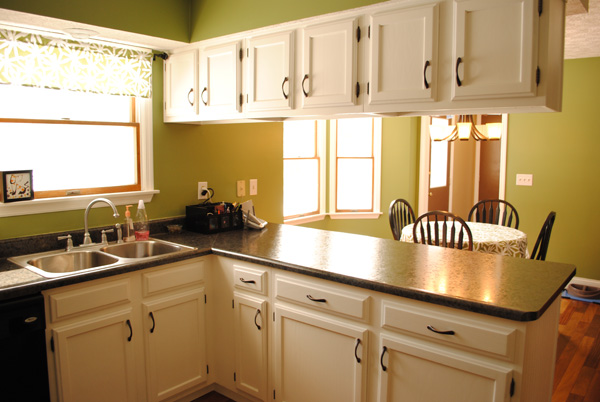
We spent our $400 on an electric sander, a jig saw, cabinet hardware, primer, white paint, oil-rubbed bronze spray paint, liquid nails, "real" nails, and beadboard. We'd already taken care of things like hardwood floors, light fixtures, stools, table & chairs, curtains, etc. prior to starting the cabinet paining process.


0207_5781bl


So... on to the details of "how" we accomplished this.
Step 1: Dismantle the kitchen

My very, very sweet husband did the first few steps all by his lonesome while I was visiting friends in D.C. What a guy! First he emptied all of the cupboards and stashed all of our kitchen crap in the dining room. He then used an electric drill (with a screwdriver bit attached) to take off each of the cupboard doors. And he pulled out all of the drawers. The kitchen definitely looked skeleton-ish.


0116_4951bl


At some point he also took off all the hinges and hardware, putting all of the pieces in a bag for safe keeping.

Step 2: Sand 'er down

Josh spent $20 or so on an electric sander and bought a fairly fine grain of sandpaper to go with it. He sanded down the cupboard "bones," the fronts of the drawers, and both sides of the cabinet doors. As I understand it, this helps to make wooden surfaces more tacky and thus helps the paint stick. Our cabinets, prior to sanding, had a high gloss finish, so it was good to get 'em a little roughed up.

Step 3: Prime Time

I don't know what kind of primer we used, but I'm sure it went something like this:
Josh went to the store, described the project, and bought what was recommended. He primed everything. Bones, inside, outside, up, and down.


0117_4949bl


We'd made the decision to paint inside the cabinets for a couple of reasons. One, they were looking dingy. Two, we knew it'd be hard to stop and make a nice, neat line where the painting stopped. So of course we primed where we planned to paint.

He used one coat of primer.

Step 4: Painting

I actually helped with this part. (Crazy - I know!)

Josh put on coat #1 while I was still gone. He used both a paintbrush (for the tighter spots) and a small roller (for the larger, flat parts). The roller was recommended by the paint store and designed specifically for cabinet painting.

Painting the cabinet bones was easy enough, but painting inside everything was VERY time consuming. Just a warning! Put on a good audio book while you're doing this!

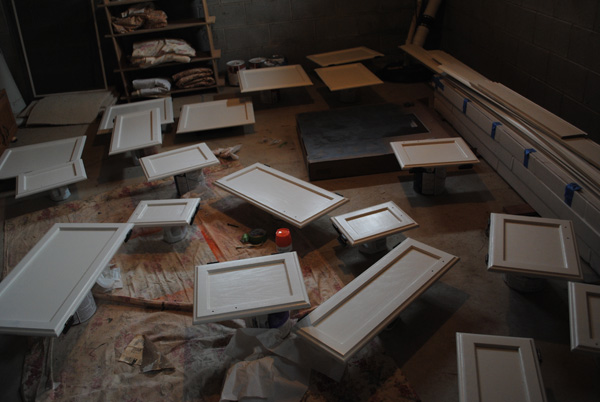
Josh set up a mini paint shop for all of the cabinet doors in our basement, using old paint cans as platforms. I'm pretty sure a large part of The Tudors: Season 1 was watched from the comfort of our unfinished basement room that weekend. To tackle the cupboard doors, he first used the brush to get paint into the grooves. He then used the roller on the other parts. Once side one was dry, he'd flip them over and start again.


0123_5010bl


I helped with coat #2. Josh was fed up with painting inside the cupboards by that point so I tackled that. We ended up doing a "touch up" coat later on as well.

Step 5: Spray paint the hinges


0123_5016bl


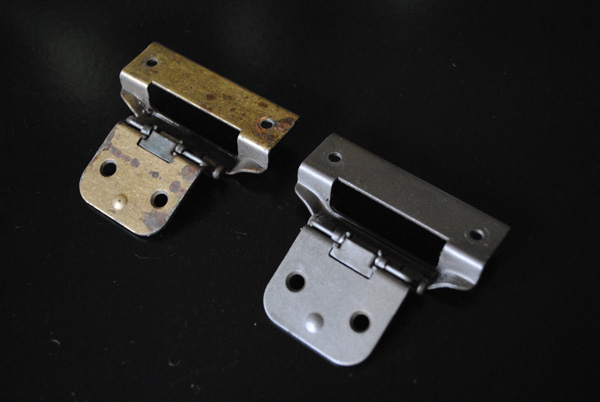
This was easy, but in retrospect I'd do a better job of painting them from different angles. As in spray one side. Dry. Flip. Spray other side. Dry. Bend hinge. Spray. Dry. Flip. Spray. Dry. Bend another way. Spray. Dry.

I definitely found a few places where I hadn't done the most complete spray painting job.

Step 6: Put the kitchen back together

Using our drill once again, and our painted hinges, we put the cupboards back together. We also put down some shelf liner paper and put away our kitchen equipment.

It was at this point that we saw some thin places that needed an extra coat of paint. So we spot-checked and rolled more paint on the cupboards where necessary.

Step 7: Install Hardware


0123_5030bl


We didn't spray paint our old stuff here, because we just didn't like the shape. So we spent about $100 at Home Depot buying new cabinet handles and drawer pulls that fit our style. We just made sure the new ones would fit in the old holes.

Step 8: The Beadboard project

Okay, this has it's own step-by-step process, and I'll leave it for a future post. Stay tuned!

Any further questions regarding this part of our project? Ask away!

And because many of you have asked, here's our source list:
Green Paint - Benjamin Moore Mountain Lane
White Paint - Sherwin Williams West Highland White
Light fixture - The Great Indoors (and it wasn't cheap)
Bar Stools - Target (they were pretty cheap)
Kitchen Table - Bought from friends, garage sale style
Kitchen Table black paint - no idea, but we did just walk into a hardware store, describe the project, and bought the paint they recommended - in black.
Curtain - homemade from a West Elm duvet cover
Drawer pulls/cabinet handles - Home Depot
Beadboard - Lowe's

Saturday, March 20, 2010

House Projects: Future

Oops, I almost forgot about this series - and this is the fun part.

And by "fun" I mean ugly.

We have a few not-yet-touched parts of this house for our to-do list!

3. Our Basement

This will be a big project someday! There are 3 partially finished rooms and one unfinished one - lots of space that we don't remotely need right now. We're thankful that some of the groundwork has been laid for a finished basement, but let's just say it isn't quite where we'd like to see it.

Oh, and please excuse the mess.

0303_5834bl

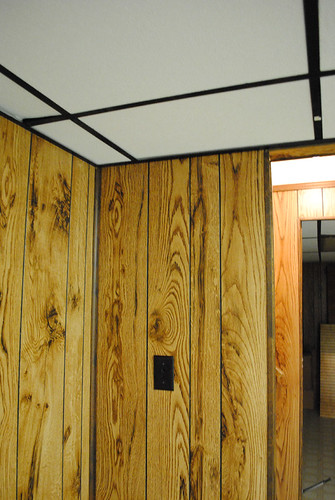
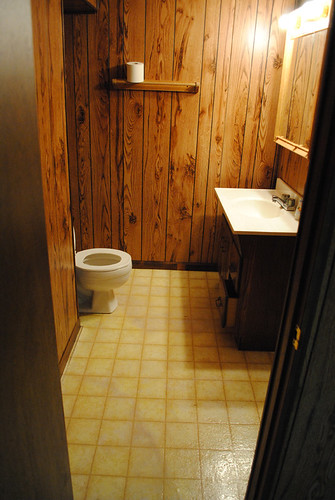
Fake wood paneling isn't exactly our style, so at the very least we'd like to paint it. We'll also do something to freshen up the ceiling/light fixtures.

0303_5837bl

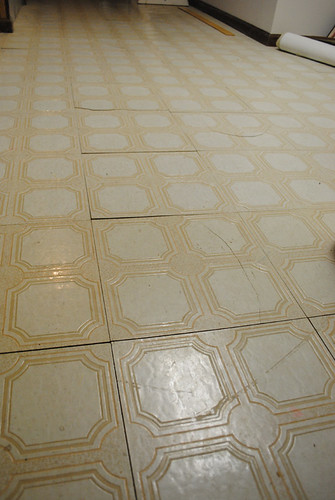
And then there's the floors. The three "finished" rooms have those sticky linoleum tiles that after 25 years are starting to lose their stick. Carpet someday, maybe?

0303_5836bl

We figure that my office will one day move down there to one of the smaller rooms, and the large room would be great for a play room/game room. Pool table? Ping pong? It could be fun for down the line. We even have a bathroom down there, which is great. It just needs a little TLC.

0303_5838bl

2. Upstairs Bathrooms

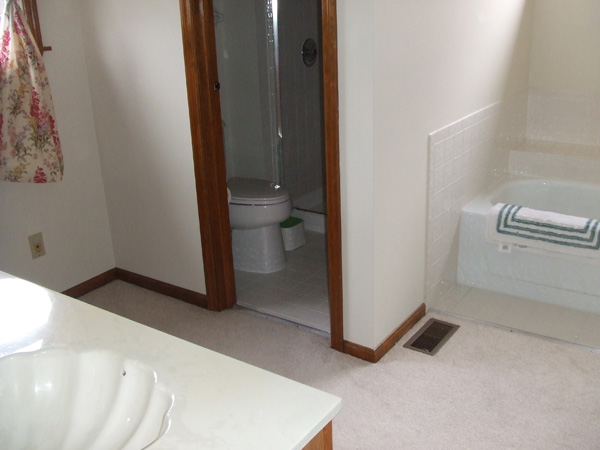
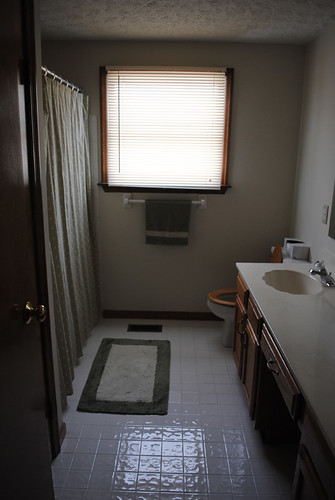
We have a master bath and a hall bath upstairs that are good sized and totally functional but just a bit dated. We've got seashell sinks all around, in addition to older light fixtures and faucets.

The master bath is also carpeted. Weird for a bathroom, I think!

Pic_0067bl

These pictures were totally taken before we moved in. But since the bathroom has changed NOT AT ALL since we moved in, they're still good!

Pic_0065bl

Then the hall bath? It sports a wooden toilet seat. Aww yeah.

0303_5829bl

Of course.

0303_5830bl

1. The Baby's Room!

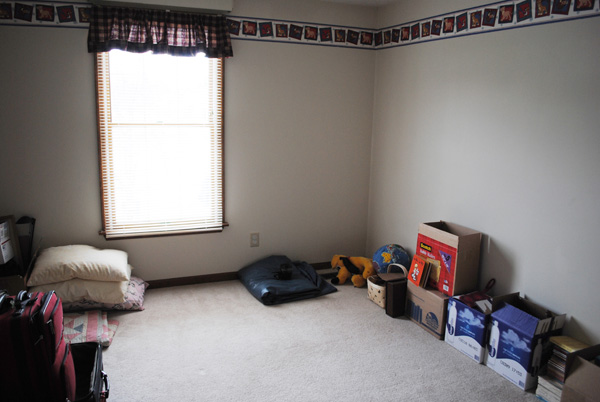
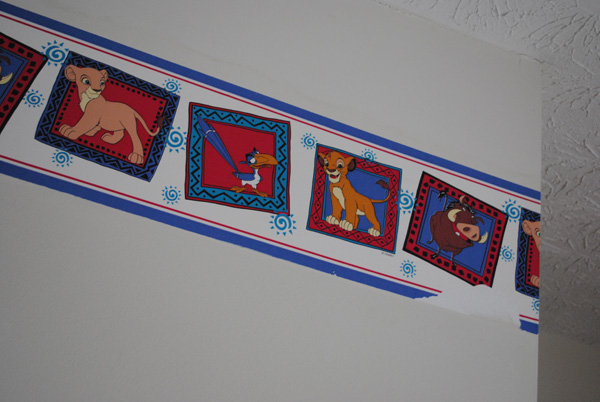
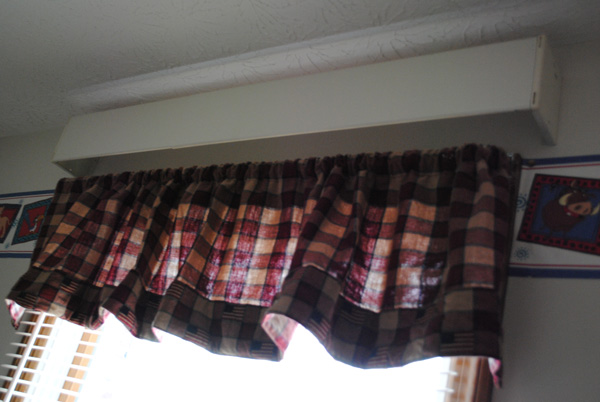
Claro que si! I'm itching to get started on this project - totally itching. We're looking to change just about everything - which isn't saying much because it is pretty much a blank slate right now! Take down the 90's Lion King border? Yes. Blinds/curtains? Soon to be replaced! Light fixture? Changed up. Maybe to a ceiling fan, since it gets toasty upstairs in the summer. And then we'll certainly be painting it - color TBD.

0303_5846bl

We'll also need to stop thinking of this place as convenient storage for suitcases, pillows, and stuff we need to take to Goodwill.

0303_5842bl

This, thankfully, was and is the only room with any wallpaper in the house! Shouldn't be too bad to take down.

0303_5841bl

I'm itching to change up the window treatments to something cute.

0303_5840bl


So there you have it. Our house list as it currently stands. We'll keep you posted as we go!

Tuesday, March 9, 2010

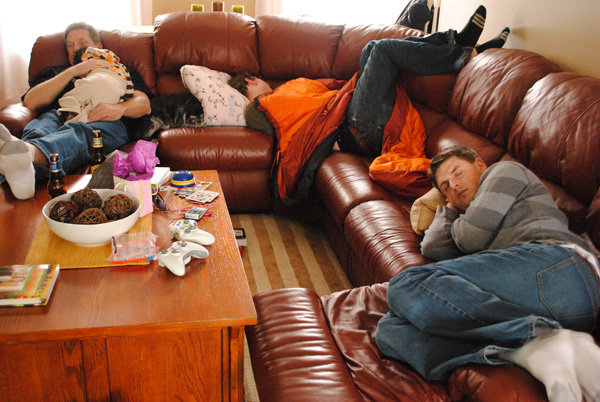
The Napping House

... where everyone was sleeping.
0213_5919bl

My parents, brother, Montoya, Aiyannah, and Aiydan came down for a visit last month.

On Saturday afternoon I went shopping with the rest of the girls.

We got home. And this is what we found.
0213_5920bl

From left:
My dad, Aiydan, Chloe (parents' dog), Ben, and Josh.

Monday, March 8, 2010

House Projects: Present

There are a few projects that are just kind of "on hold." They aren't huge priorities. In general, they're mostly complete, and just waiting for finishing touches. In fact, we'll probably make our way to some of our "House Projects: Future" items before we tackle these.

And here they are:

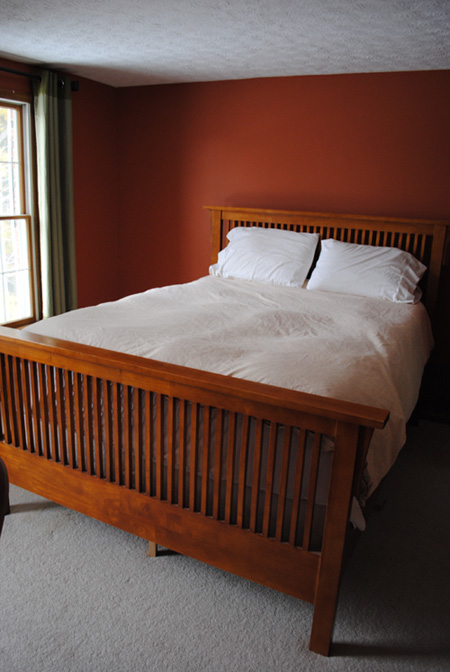
5. Master Bedroom

1202_3527-2


0308_5938bl

Done:
-walls painted
-bedding found
-bed purchased
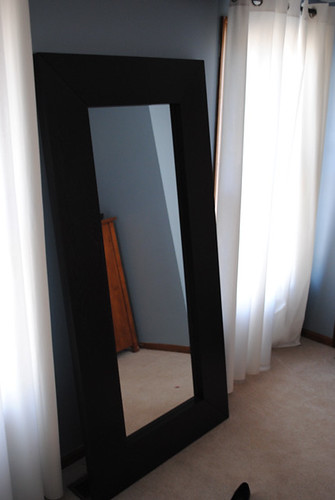
-mirror purchased
-frames purchased, painted, and hung
(the last two items were Christmas presents from Josh)

To Do:
-replace light fixture with ceiling fan
-put art work/photos in frames
-add some decorative pillows
-more art for the walls?
-hem one of the curtains because it is longer than the rest and drives me crazy

0308_5935bl

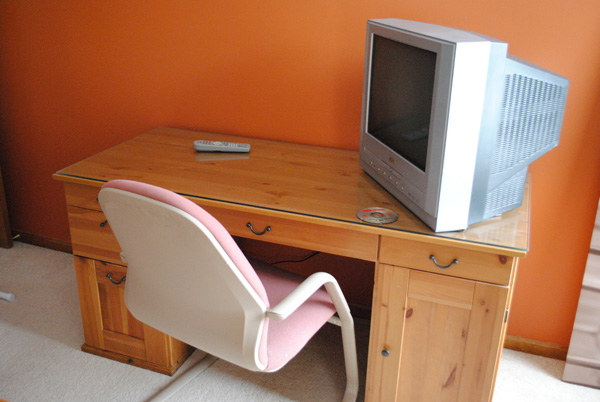
4. My Office

BL0915_1101

Done:
-walls painted
-desks purchased and assembled
-supplies put away

To Do:
-buy matching chairs
-paint extra furniture to match
-hang curtains

3. Guest Bedroom

0303_5822bl


0303_5824bl


Done:
-walls painted
-bed set up, our old bedding put on
-extra desk put in
-curtains bought and hung (albeit slightly too high)

To Do:
-SPICE IT UP
-pillows
-hang up wall art (that's currently on the floor)
-maybe take out the desk and/or get a chair that matches (not an old one I got free from work)

0303_5823bl


2. Living Room => Play Room

I think we're just going to repurpose this room all together. I mean, it's a big formal living room (currently acting as a library) that we almost never go in. And it'd be nice to have a designated space for baby B's toys on the main floor. Josh was originally under the mistaken impression that all of baby B's toys would be housed in baby B's room. But I think he is coming around to the reality that rugrat stuff DOES inevitably take over the main living space of your house so you may as well be prepared.

0308_5934bl

0308_5933bl

Done:
-walls painted
-existing and new (and yet still mostly hand-me-down!) furniture added
-books on shelves
-dishes on shelves

To Do:
-make the bookshelf more kid-friendly. Baskets underneath, maybe? Clear out the bottom shelf to make ready for kiddy stuff?
-get a fun rug
-get some kind of shelf/toy organization system
-add some artwork (half kid-friendly, half living room-friendly)to what will otherwise be a big open wall.

1. Kitchen Sink

Josh reminded me that technically the kitchen is still a work in progress because we'd like to put in a new sink/faucet. White sink, oil-rubbed bronze faucet.

0207_5816bl


My next list? You guessed it - House Projects: Future. This is where I'll reveal the REALLY needy places around here.

Wednesday, March 3, 2010

House Projects: Past

I look around this house ALL THE TIME and think, Ooooh, wouldn't it be fun to make this? Or paint this? Or put carpet down here? Or put in a new ceiling in the down there (basement)? I find all kinds of ideas on the internet/in magazines and CAN'T WAIT to try 'em around this place. I see ugly light fixtures and aged carpet just waiting to be updated a la Josh and Jessica.

But it's important, too, for me to remember this:

Our house is great already. It's cute and warm and homey and provides shelter and has a spare bedroom for baby B and in general is a true blessing from the Lord. Even though it isn't "done."

This reminds me of a quote from of one of my favorite books, Cold Tangerines:

On my worst days, I start to believe that what God wants is perfection. That God is a new-house God. That everything has to work just right, with no cracks in the plaster and no loose tiles. That I need to be completely fixed up. I think that God's kind of people are squeaky-clean people whose garages don't leak, but really a lot of the people God uses to do amazing things are people who don't necessarily have it all together. A lot of the best stories in the Bible, the ones where God does sacred, magical things through people, have a cast of characters with kind of shady pasts, some serious fixer-uppers.
On my very best days, as an act of solidarity with my house, since we're both kind of odd, mismatched, screwed-up things, I practice letting it be an old not-fixed-up house, while I practice being a not-fixed-up person. I wear my ugly pants, the saggy yellow terry-cloth ones with the permanently dirty hems, and I walk around my house, looking at all thing things that I should fix someday, but I don't fix them just yet, and I imagine God noticing all the things about me that should get fixed up one day, and loving me anyway and being okay with the mess for the time being.

As we look forward to future home improvement improvement projects, it's good for me to take a step back and look at what we've accomplished so far. It goes a long way toward helping me be excited and content with the house we already have.

Our favorite projects to date:
6. The Family Room

Since this is where we spend a majority of our time, it's nice to have it put together.

0821_0581bl

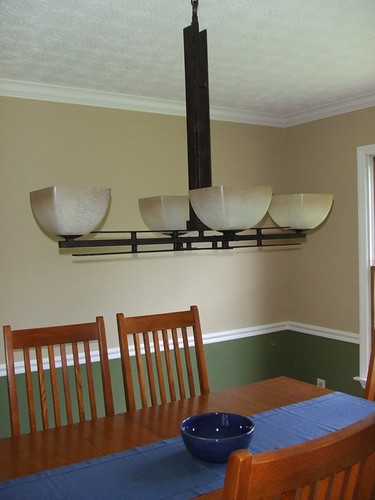
5. New Light Fixtures (on the main floor)

Nothing says U-G-L-Y like a very outdated light fixtures. So we took almost all of them out and replaced 'em. And let me tell you - that job SUCKS. Holy cow tired arms. It gave me new respect for Moses.

071209_0120bl

4. The Half Bath

It took us a weekend or two, some You Tube video watching, and a trip across town to get the vanity top trimmed down. But we like it. And it's nice to have a decent looking bathroom on the main floor for when guests come over.

bathroom 2

3. The Kitchen

This was a big, time-consuming job for us, but man we're happy with it now. It makes the entire first floor look much more updated. Not to mention bright and clean.

0207_5781bl

2. Paint

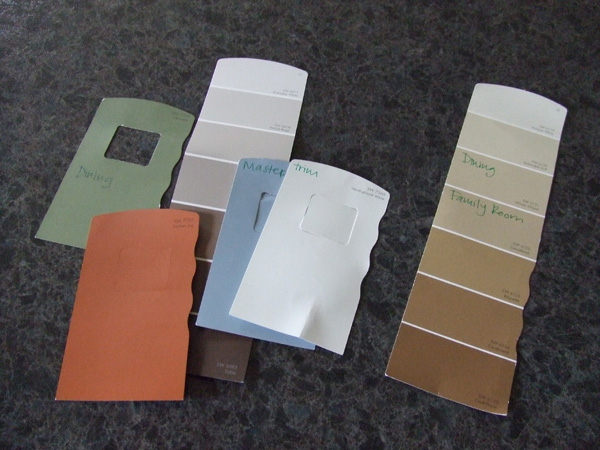
Oh, how I love the effect that a $25 gallon of paint can make. We enjoyed putting our stamp on this place by choosing the right tans, greens, blues, browns, etc. And having a free crew (our parents) along for the ride was great, too.

062609_0045bl

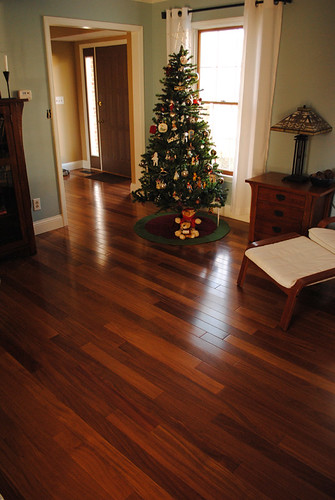
1. The Floors.

It's been awhile since I've thought of these, since we had them put in so long ago. Putting in wood floors was definitely an investment for us, but a worthwhile one. Never mind the small dents from me dropping forks on the kitchen floor. Or from when I fell on top of something hard and plastic and it made a long streaky scratch in the foyer. The floors are made of wood. It happens.

1212_3771bl

My next post? A few projects that are on our to-do list. We have some planned for the next few months; others for the next few years.