
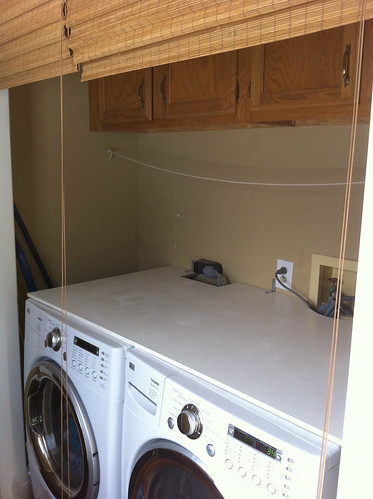
Step 1: Add a clothesline to the area.
Where does one go to purchase clothesline? I couldn't find it in stores around here, and so quickly navigated my way to Amazon and bought it there.
(On a side note, I bought 200 feet and only need about 20. Does anyone need some clothesline? We've got some to spare.)
We bought some simple "screw eyes" from the hardware store and screwed one into each wall of the nook. Then we tied the ends of clothesline into those "eyes."
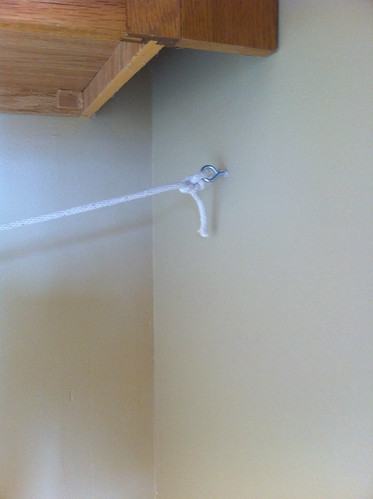
Depending on our ongoing diaper needs, we may add another line to this space, or else string some up in the nearby garage. But for now one line works for us.
Step 2: Put in a big flat workspace.
The idea was simple. The reality was slightly more complicated.
The idea: buy a piece of wood, get it cut at the hardware store, paint it, and set it on top of the washer and dryer.
The reality: a tight fit, slightly uneven walls, and a few cords/hoses to work around.
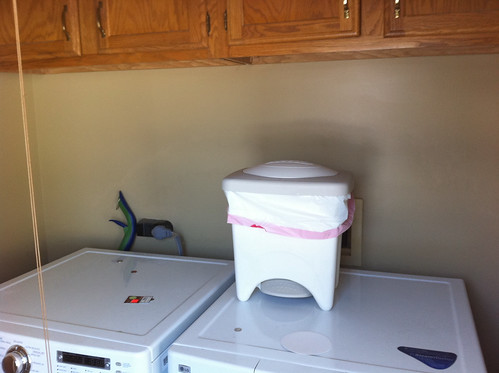
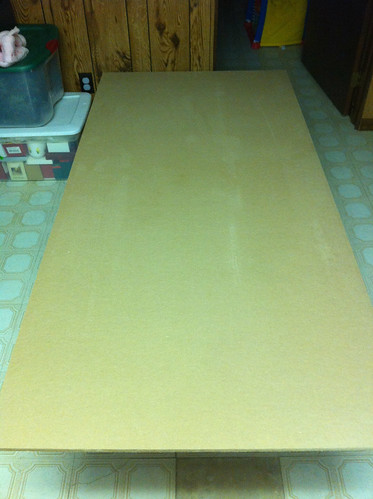
First we measured out the dimensions of our nook, and planned out just how big we wanted our wood to be. We decided that on one side it should extend to the wall, but on the other side leave some space for the brooms and mops to be stored. We also wanted it to extend to the back of the nook so that junk couldn't fall behind the machines.
We bought a piece of MDF (medium density fiberboard) at the store and asked them to cut it to our basic dimensions.
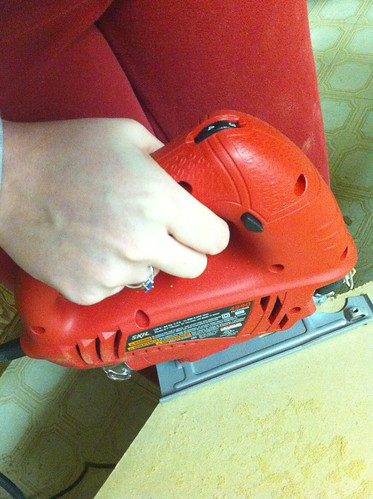
Then we brought it home and used a jig saw to cut out some areas for the hoses and cords in the back.
Then we used some leftover trim paint to paint it white.
The right side butts up against the wall.
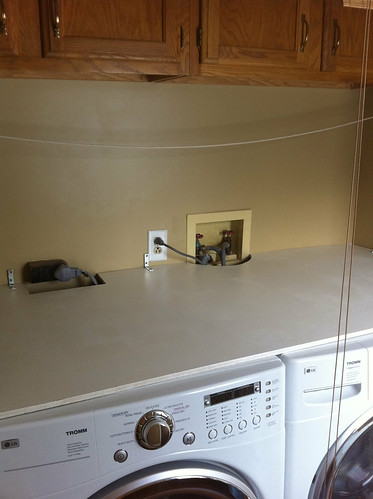
The left side ends where the dryer ends so that we've got a spot for the brooms and mops. You can also see where we tore up the wall putting it in.
Where does one go to purchase clothesline? I couldn't find it in stores around here, and so quickly navigated my way to Amazon and bought it there.
(On a side note, I bought 200 feet and only need about 20. Does anyone need some clothesline? We've got some to spare.)
We bought some simple "screw eyes" from the hardware store and screwed one into each wall of the nook. Then we tied the ends of clothesline into those "eyes."
Depending on our ongoing diaper needs, we may add another line to this space, or else string some up in the nearby garage. But for now one line works for us.
Step 2: Put in a big flat workspace.
The idea was simple. The reality was slightly more complicated.
The idea: buy a piece of wood, get it cut at the hardware store, paint it, and set it on top of the washer and dryer.
The reality: a tight fit, slightly uneven walls, and a few cords/hoses to work around.
First we measured out the dimensions of our nook, and planned out just how big we wanted our wood to be. We decided that on one side it should extend to the wall, but on the other side leave some space for the brooms and mops to be stored. We also wanted it to extend to the back of the nook so that junk couldn't fall behind the machines.
We bought a piece of MDF (medium density fiberboard) at the store and asked them to cut it to our basic dimensions.
Then we brought it home and used a jig saw to cut out some areas for the hoses and cords in the back.
Then we used some leftover trim paint to paint it white.
The right side butts up against the wall.
The left side ends where the dryer ends so that we've got a spot for the brooms and mops. You can also see where we tore up the wall putting it in.
I thought we'd need some additional stabilization so I'd added L brackets. As it turns out, the MDF is wedged in so tightly that the L brackets arent' necessary.
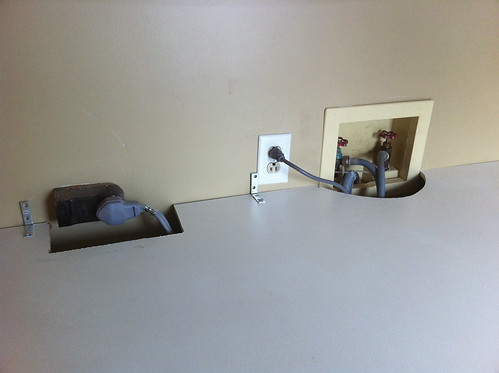
So far, so good. But that view above? It's ugly. There's a lot going on back there and it's just not the best look.
We dug in our basement (which we've been cleaning out lately anyway... stay tuned for that project!) and found some old "art" that we could use to hide the unsightly cords and pipes.
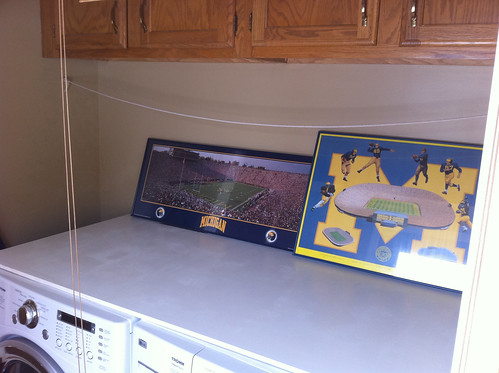
Oh yes. Go blue, baby.
I like the fact that the cords and such are still easily accessible, but hidden from view. Also, having these here will prevent little things (bleach pens, pencils, key chains, etc.) from falling behind the machines through those cut outs.
But then, don't washers and dryers vibrate? Won't those frames slide forward after a while?
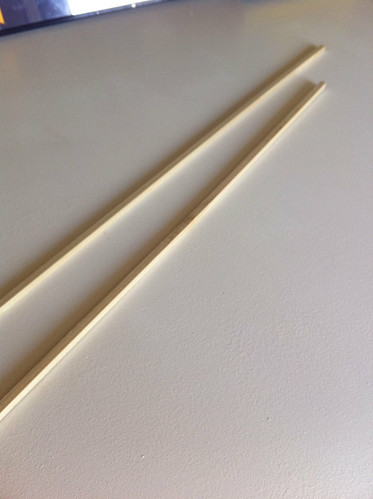
Solution: Dowels. These cost under $1 and we just attached them onto the MDF with some wood glue. Easy! And they'll hold the precious M Go Blue art in place against the wall.
Aaaaand we're almost done! Stay tuned for the "big reveal." In the meantime, I've got another coat of paint to put on this sucker.
(And the fact that I just mentioned a "big reveal" for our little laundry nook makes me laugh... )


4 comments:
Love it! Well, most of it anyway.
I love it! And I will take you up on that clothes line...(I don't need a whole lot either!) I need to measure how much we'd need....ill get back to you on that! I want to use it on our back porch to hang clothes in the summer
Love what you are doing with your laundry nook!
I think your definition of art and my definition of art do not line up. But I do like the nook :)
Love the nook. And have no problem with the artwork you chose. :) Well done!
Post a Comment