
Not surprisingly, our attempted DIY bathroom renovation hasn't been nearly so easy.
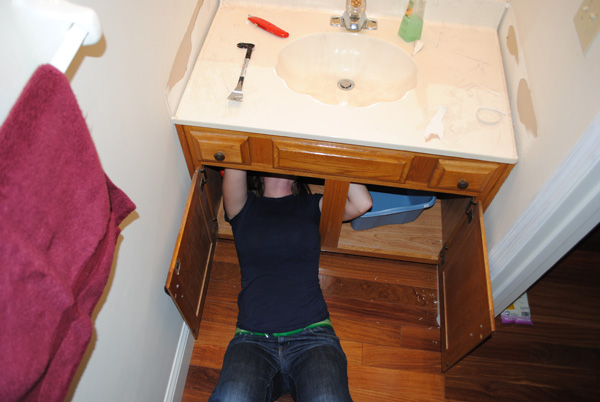
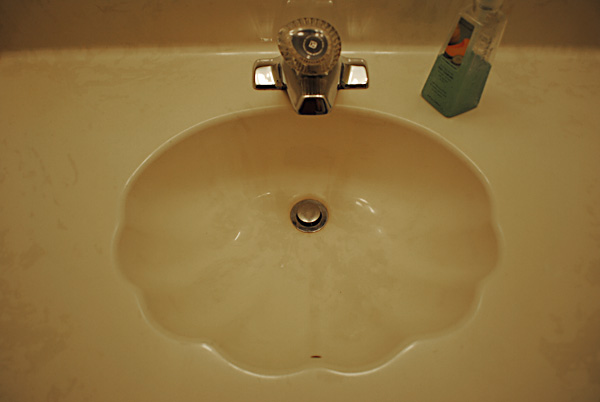
We have a half bath on our main floor that desperately needed to be pulled out of the 80's. Check out the ugly light fixture, the dated mirror, and (my personal favorite) the sea shell sink.


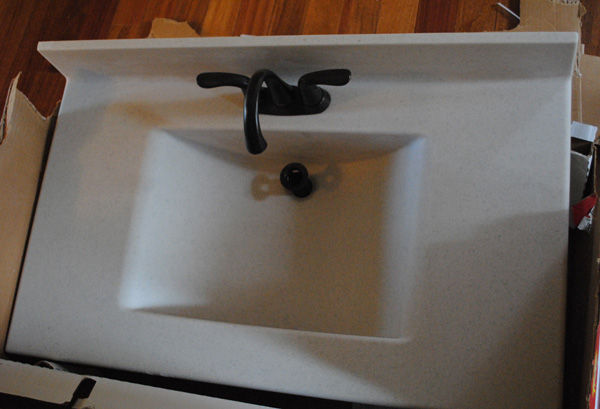
We stopped by Menards (I heart Menards) on a Sunday afternoon and picked up a new vanity top and faucet. That night I watched a number of DIY home improvement You Tube videos, and felt confident that we could install the thing ourselves. It just didn't seem too difficult.
And it wouldn't have been, had the vanity top been a quarter inch narrower.
We tried and tried and tried to get that dang thing in the bathroom. And let me just tell you - a 36 x 22 inch vanity top made of cultured marble is HEAVY. We scraped up the drywall in several places, took off the trim around the door, tried a number of different angles, and then stopped.
Uh... maybe we should measure it, Josh said.
It was then that we discovered that our sink was just a leeettle too wide for the room. As in, there ain't no way we're getting this in here.
35.75 inches across:
36 inches across:
Some explitaves may have been spoken that night.
In the world of home improvement, I've learned, there are standard sizes and custom sizes. 36 inches across is a standard size for a vanity top. 35 inches would require a much more expensive custom-made vanity top. And that didn't exactly fit into our budget.
Junk.
In the end, I called a random granite/tile company from the phone book, and the guy agreed to trim the edges. Whew. It did require me to drive across town to bring it there and pick it up, plus $40, but it was worth it.
Now the new vanity is in, and the new faucet works, and at this point nothing is leaking (knock on wood). So we're good. When the bathroom is complete, I'll post pictures.
And here are a few lessons I've learned in this process:
1. Measuring accurately is very important.
2. Home improvement projects will usually take more time than you think they should.
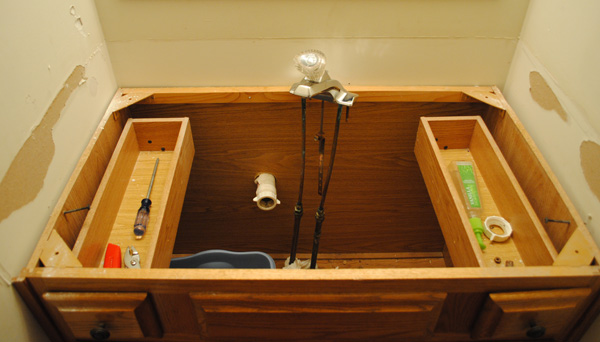
3. Disassembling a vanity isn't difficult. Just be sure you turn off the water first.
4. When you're trying something new in the world of home improvement, You Tube is your friend.
5. I can't wait to pull out the FOUR other sea shell sinks we have in this house.


6 comments:
Oh my word, we have *so* been there. As a matter of fact, your half-bath looks like ours did about 4 months ago before we finally got to renovating it. And now we're thinking of forging ahead and removing the mauve countertops and faux-tile, textured wallpaper in the upstairs bathroom. I'm sure there will be expletives mumbled here too. LOVE the sink you picked out!
ummm. I think Aunt Peggy would agree with you on all counts, especially lesson #2!
Ewwww, glad it all worked out for ya. That would have been a bummer. Think of how much you're learning :)
you amaze me. love the new sink!
the bathroom looks great. love the new sink. you heart menards?! bahahahaha!
I came here looking for ideas....and some advice. We have these same lights in two of our bathrooms. I hate them. They need to go. I keep looking at the long metal piece that connects the giant bulbs and wondering what we're in for if we take it down. Do I need to find something that will cover the same area? Patrick's grandfather is coming in town soon, and he is quite handy with projects like this. Any advice on where to start shopping for fixtures?
Post a Comment