Tuesday, March 29, 2011
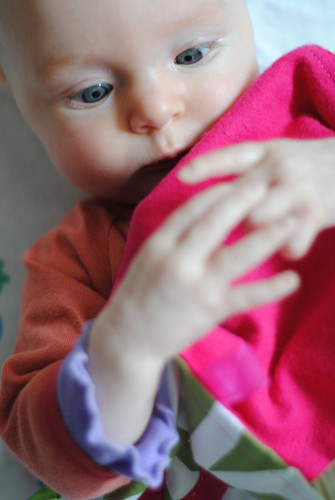
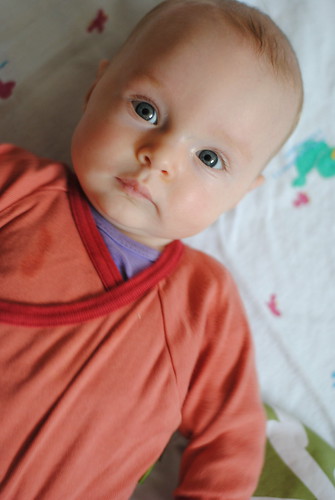
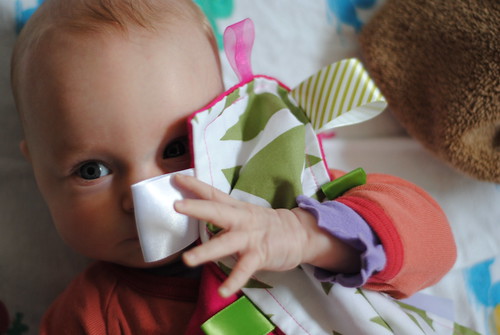
Four months and some change...
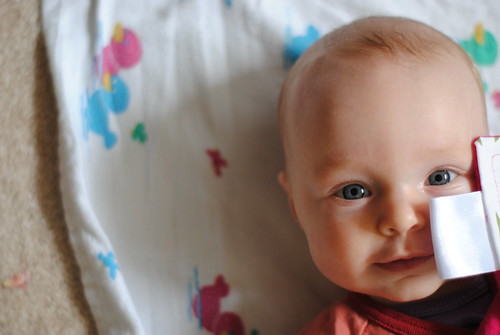
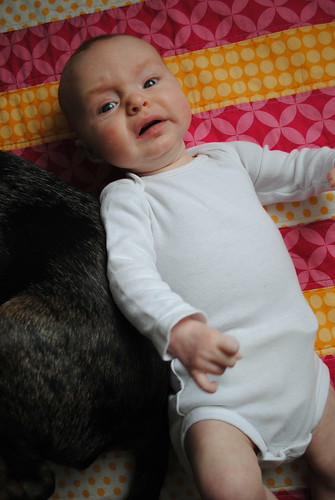
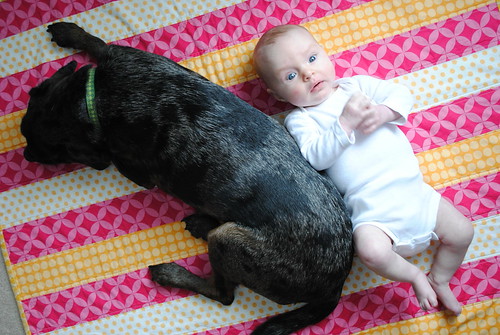
Um, I think that face is getting rounder by the second.
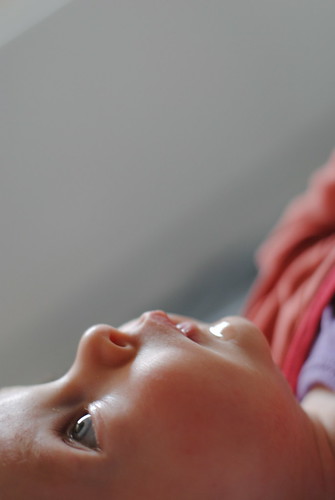
I think those baby blues are here to stay.
Her eyes are totally expressive.
I'm finally getting better at capturing smiles on camera. Thank goodness!
I still don't recognize that nose.
She's got an awesome bald spot in the back. And under that is a nice mullet.
She now likes her Bumbo seat and Exersaucer. And still hates that adorable swing that sits empty in our living room.
Sometimes I think her hair is blonde. Sometimes I think brown.
Sometimes I think she looks like me. Sometimes I think Josh.
And yes, she's still little:
11lb 8oz (8th percentile)
24.5in (56th percentile)
Monday, March 28, 2011
Thursday, March 24, 2011
Don't call the baby police...
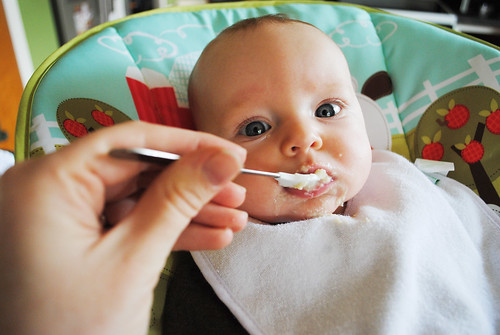
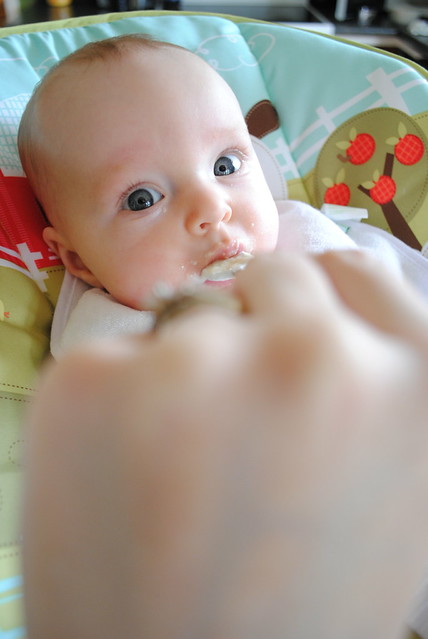
... but may have started solids 'round here.
We may have started a few days prior to the four month mark.
We may have done zero research on it.
I may have given her mashed banana out of frazzle and in the hopes that it would stop her fussing one evening.
She may have eaten several spoonfuls that night.
We may have fed her solids every day since then.
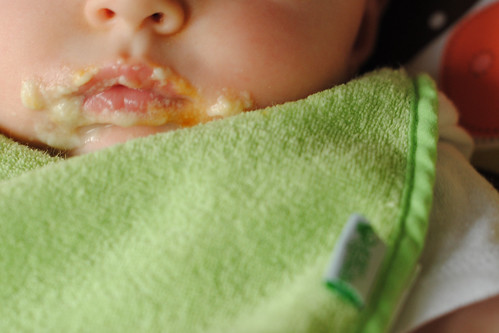
She may be a mess each and every time.
But man does she love it.
More, please?
Wednesday, March 23, 2011
Finally!
I have a confession to make.
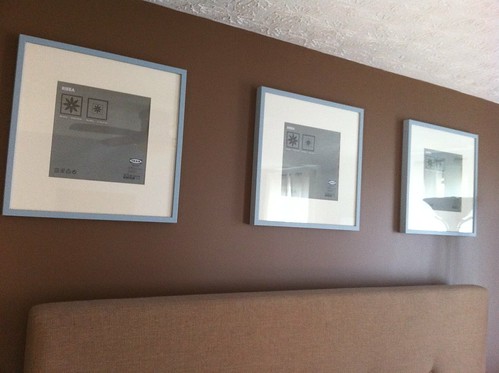
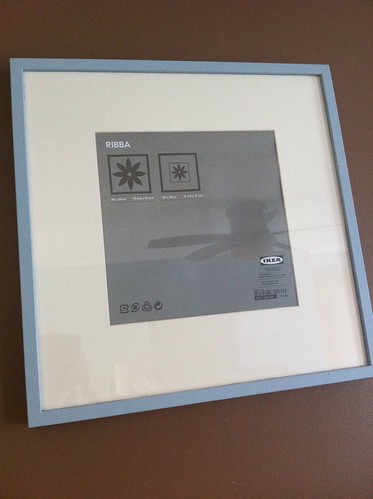
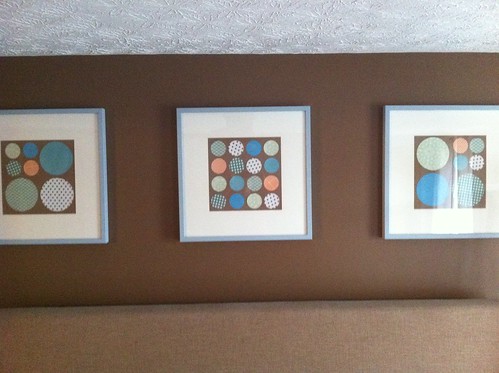
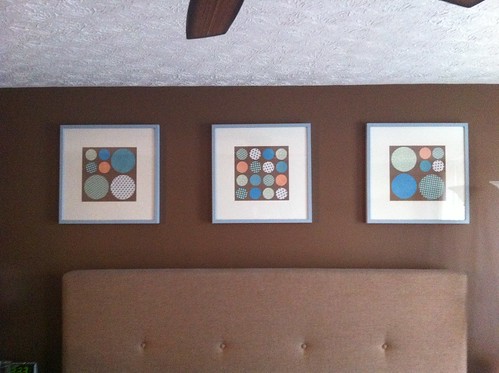
Josh got me these frames for Christmas, and I haven't put anything in them until now.
And no, not Christmas 2010. Christmas 2009.
Which means that we've had unfilled picture frames hanging over our bed for well over a year.
A year of seeing only the basic IKEA messaging. A year of unfinished-ness. A year where we traveled, worked on other house projects, and took lots of pictures.
Part of the problem was indecision. What to fill them with? We originally thought vacation pictures. Then family pictures. And although we looked through countless folders, the right photos never presented themselves. And we'd always thought that they should be somehow related, and close-ups. And then that made the picture hunting even more difficult.
The other part of the problem was the fact that we mostly don't care what our bedroom looks like. We don't make our bed. There are usually dirty clothes on our floor. There is a layer of dust on the furniture. I know, I know. I'm a terrible house keeper. Judge all you want. It's the simple truth. We'll work hard to clean the main floor when we have company over, but no one besides us ever sees our bedroom, and so we just lack motivation to keep it neat.
Maybe someday.
I have hopes of changing my ways. Hasn't happened yet.
Anyway, where was I?
Frames. Yes.
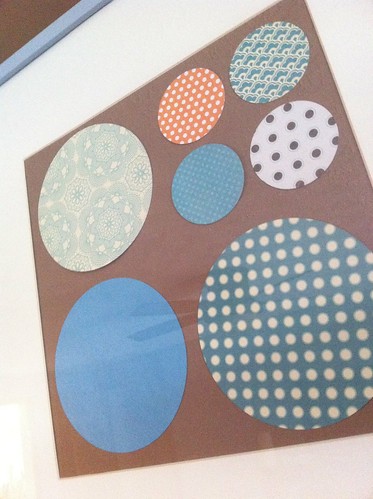
We finally, finally settled on the idea of a pattern instead of a photo. Once again I drew inspiration from these guys, who reminded me that you can just fill frames with paper. Who knew?
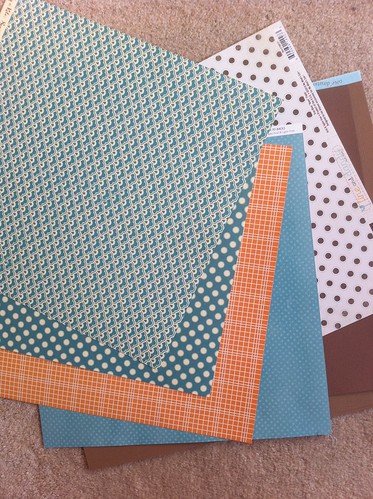
So Caroline and I headed over to the nearest Archiver's and bought $9 worth of coordinating paper. I didn't choose them all from the same brand or line of paper so that they'd be different. Not too matchy-matchy. And I tried to choose a few different kinds of patterns. I'm a sucker for polka dots and have to force myself to choose other patterns from time to time. I was hopeful that they'd just flow together.
For the record, Archiver's has WAY better paper than Michael's or Hobby Lobby.
I took 'em home and started cutting a bunch of circles using my handy dandy circle cutter. Then I experimented with a bunch of different configurations and ended up with a set that I liked.
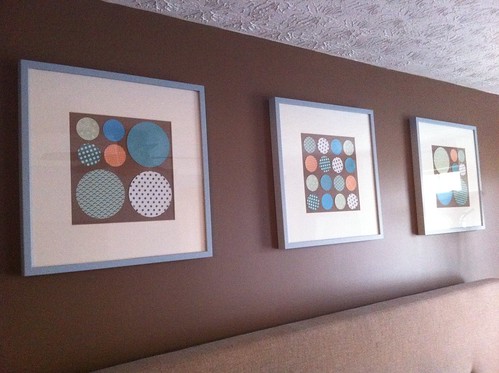
And here's what I came up with:
Paper circles + glue stick + brown paper.
Simple. Easy. I'm not 100% in love, but I sure am relieved to have something in those frames. Especially something that only cost $9.
One of these days I'll take a full bedroom shot so that you can get the full effect.
But since the room is messy (see confessions above) you'll just have to wait.
Tuesday, March 22, 2011
This girl.
Wednesday, March 16, 2011
I Heart Freezer Meals.
I like to cook, but only sometimes. The daily grind of figuring out what to do about dinner is stressful for me. When I was pregnant, I got especially bad at it, and usually just asked Josh to pick up Wendy's or pizza on his way home from work. Now that I'm getting back into the swing of things, I've put meal planning back on my to-do list.
But still, I don't really enjoy it.
The missing ingredient. The run to the store. The messy kitchen. The dirty dishes. Every night. Ick.
So lately, I've gotten more serious about making meals ahead of time and freezing them. My friend Erin is a freezer meal queen and got me started with a bunch of helpful tips and recipes. It's been great. I can just pull the meals out of the freezer the night before, thaw them, and heat 'em up for dinner time. Sometimes the dish requires me to boil up some pasta. Or warm up some veggies to serve on the side. I can handle that.
In any case, it's bliss.
Every time I pull a meal out of the freezer, I'm thankful for it.
Thankful that all of the ingredients are there. Thankful that I don't have to completely destroy my kitchen that evening. Thankful that I don't have to put mental energy into the age-old question of what's for dinner. Thankful that, for that day, I can serve up a hot, home cooked meal to my sweet husband when he gets home from work.
It's also a pretty economical way to cook. Buying in bulk and catching sale prices works out well in my family's budget. And when I'm cooking a lot of food in one day, I actually use most of the ingredients I buy. You know, instead of buying a whole bag of cheese and only needing a small portion of it.
So far for me, I've found that it's most helpful to just spend a day making all of the meals. I know that others make freezer meals as they go, and that can work well, too. And this last time I invited a friend to join me in that endeavor. We split the groceries and meals down the middle between us. And spent an afternoon cooking together.
It's way more fun that way. Let me just tell you.
We chose 5 recipes, and doubled them all. Then split them up into 2-3 person servings. And from those were able to make 12 main dishes each. And the cost was just over $50 for each family. Just over $4 per meal on average? Yes please!
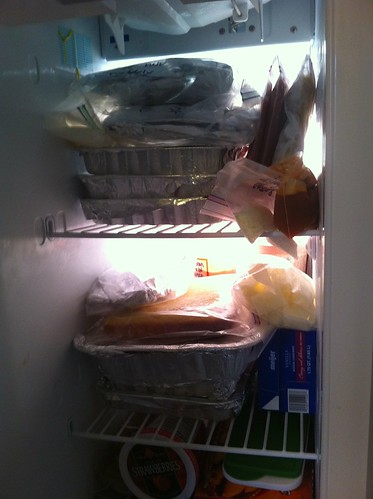
And now, here's our freezer:
Please disregard the baggie of breast milk cubes. Then again, I suppose it is another example of a freezer meal!
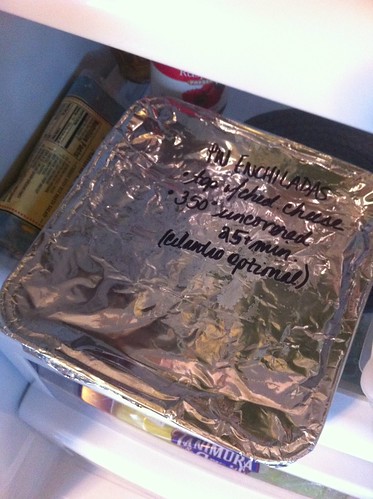
Here's the fridge, and what we're having for dinner:
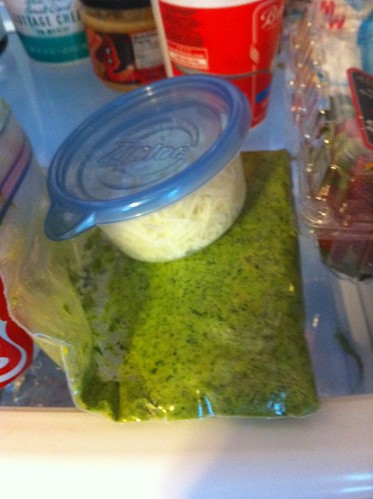
Here's some leftover pesto + asiago cheese from Sunday.
MMM Good.
In case you're curious, here's what we made this time around:
1. Chicken Involtini (we just used chicken instead of steak in this recipe)
2. Short Stop's Chicken Tetrazzini
3. PW's Enchiladas
4. Pesto
5. Chicken Potpie Empanadas
Tuesday, March 15, 2011
The Basement Project: Tour
We've been itching to work on our outdated, semi-functional basement for a while now. Like practically since we moved in.
There's a lot of space. The entire footprint of our main floor is down there, and 3/4 of it is finished. So that's always been really nice.
However, in no way did we ever want to go down there.
The problems:
1. Lighting. Dim/broken florescent tubes behind dirty sheets of plastic.
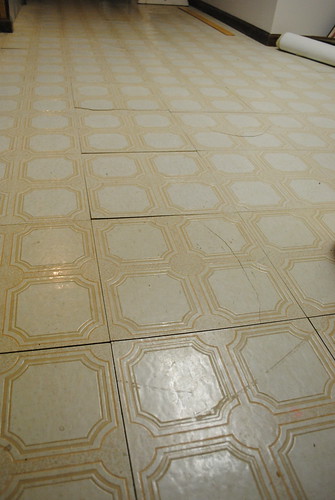
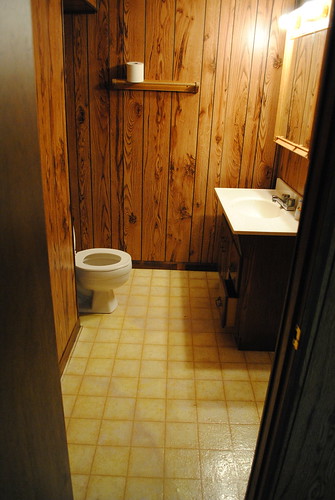
2. Flooring. Stick-on tiles that had lost their stick.
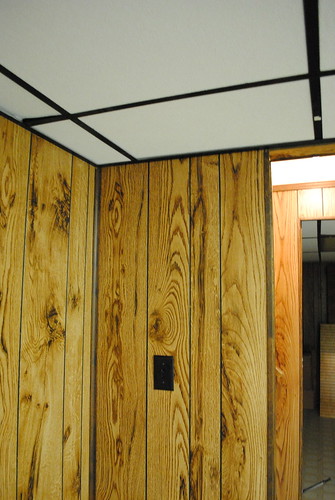
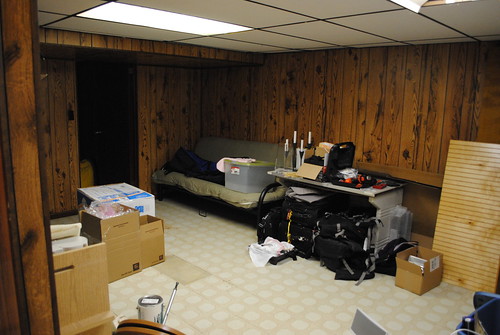
3. Walls. Lots of fake wood paneling. Yuck.
4. Ceiling. A drop ceiling with old, stained panels. And a dark brown metal grid. Awesome. Oh, and since a water pipe to the outside burst last year, we'd lost a few panels to water damage.
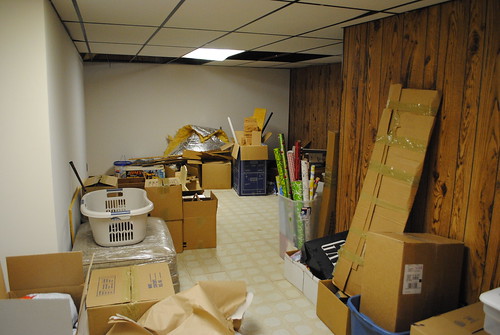
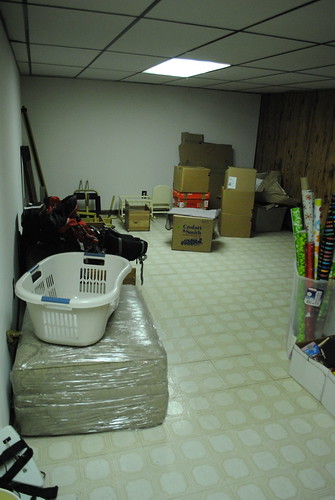
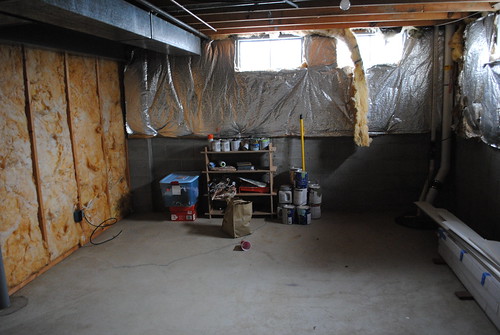
5. Filled with junk. As seen in picture #1. Some of our own, some left behind by the previous owners. Lovely.
We set out to tackle each of these problems. On a budget, of course. And we'll cover the various aspects of the remodel in subsequent posts.
But first, let me take you on a little "before" tour. Squint your eyes and think about what could be.
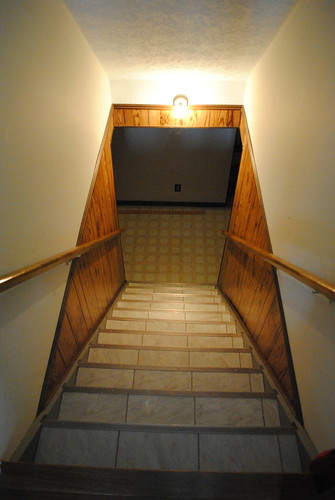
First, you walk down the stairs. Steep ones! You a little taste of paneling and ugly lighting on your way down.
Turn right. You're in the biggest of the three finished rooms. Someday we'll put a couch and a bunch of toys down here.
Walk into the room and to the right, past the wrapping paper, and you'll see a door to the little half bath.
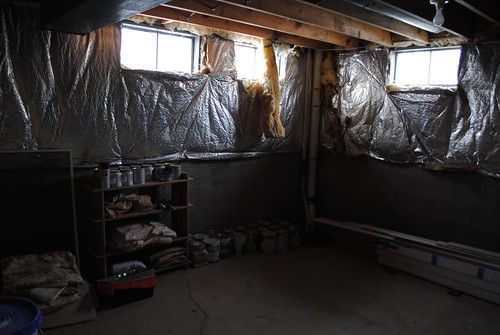
Walk back into the playroom, and you'll find a door to the unfinished room. Yay, storage! This one isn't changing much. Save adding some of our storage stuff from the other 3 rooms. You know... suitcases, Christmas decorations, half-used paint cans, sentimental wedding paraphernalia, etc.
If you head back to the bottom of the stairs, and turn left (instead of right) you'll find yourself here:
We're not sure what we'll do with that space. If we're here long enough, maybe will spring for a ping pong table? We'll see.
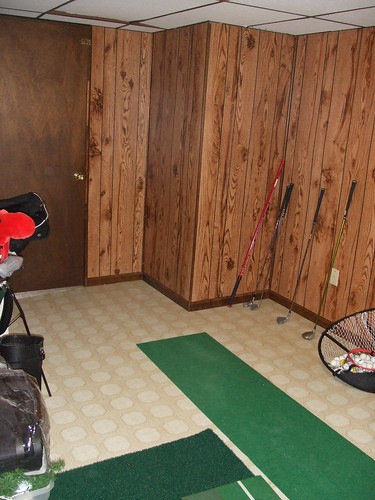
And then if you walk through the ping pong room, you'll find finished room #3. This picture was taken when we toured the house for the first time. Apparently the previous owner used it as putting practice. We'd like to find some used exercise equipment and put it in there.
If you walked through the exercise room and opened the far door, you'd find yourself back in the unfinished space. Clear as mud? Good.
Wednesday, March 2, 2011
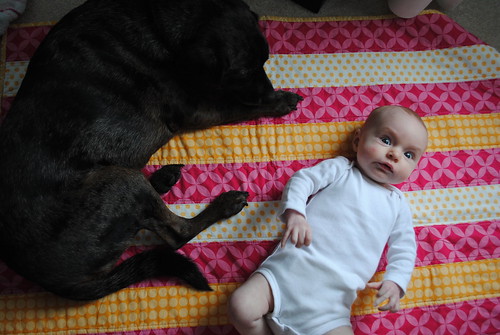
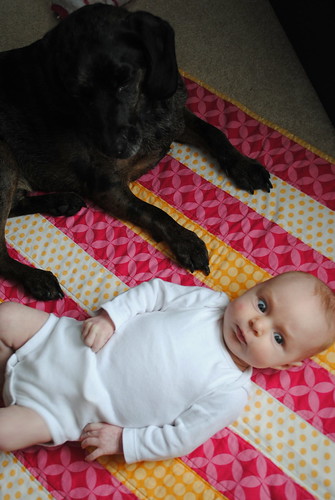
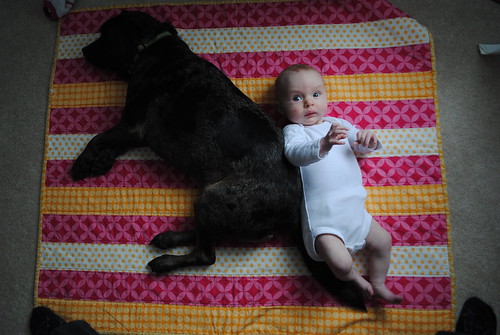
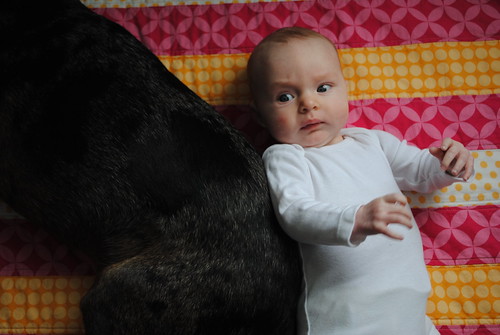
Sibling Rivalry
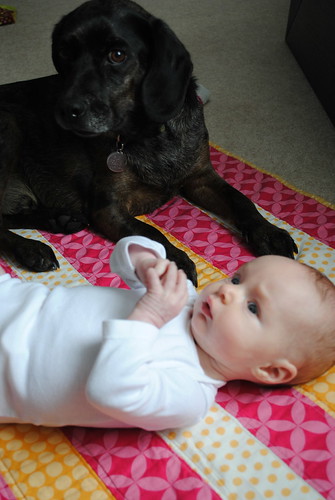
Me: Okay, Caroline. It's time for your weekly photoshoot!
Caroline: I gueeesssss.
Me: Put your hands in your mouth.
Caroline: Done.
Me: And another?
Caroline: I'm all over it.
Caroline: But what is that I hear?
Caroline: It's coming closer. And I don't like it.
Riley: Why does she get all the spotlight? I want in!
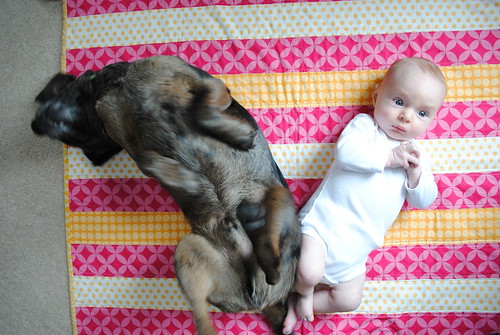
Riley: If she can be on her back, so can I.
Riley: [sings] Anything you can do, I can do better. I can do anything better than you.
Caroline: I'm not so sure about this.
Riley: Head shots? I'm in!
Caroline: Mom, I should be the center of attention, right?
Riley: Nope, you've got to share it with me!
Caroline: Mom, can't you make him go away?
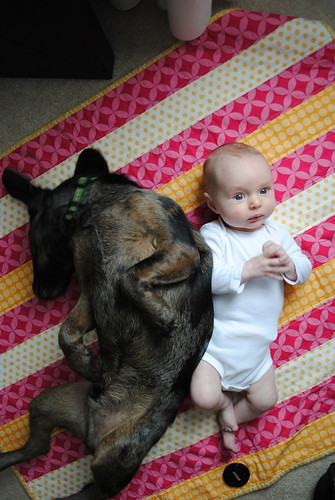
Riley: Nope! In fact, I'm just going to butt you out of here, Caroline.
Caroline: He's getting hairs all over my pretty quilt!
Riley: Ha ha, suckers!
Subscribe to:
Posts (Atom)