
After our we cleaned up the joint, we had to decide how to move forward with updating the ceiling. The stained ceiling tiles just weren't quite doing it for us. Go figure. And the brown metal grid? Totally 80's.

Don't be jealous when you check out the lighting, the tiles, the paneling + drywall, and the ceiling. I know you wish your basement looked like this.
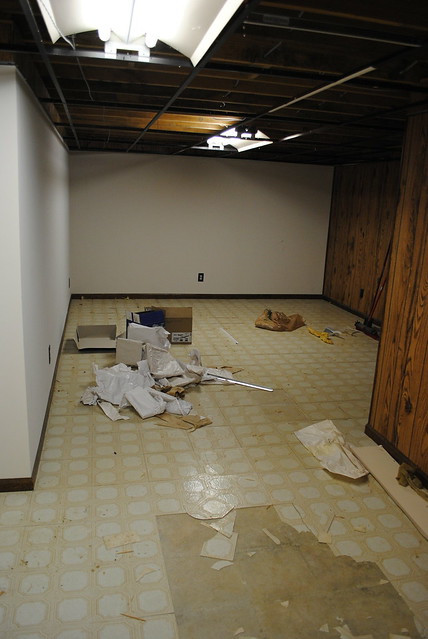
As a part of that decision, we needed to figure out the overhead lighting in the room. Florescent tubes behind plastic? Not quite our style. Also, it was just dim (read: scary) down there all the time. Time for us to ramp up the wattage. We've found that simply adding additional lighting in a basement ratchets back the "creepy" factor a good deal.
For the ceiling, we first had to decide between these two options:
1. Drywall / Real Ceiling
2. Make the drop ceiling look more attractive.
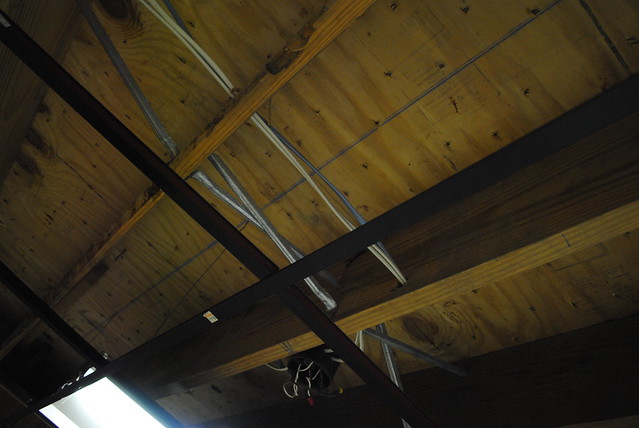
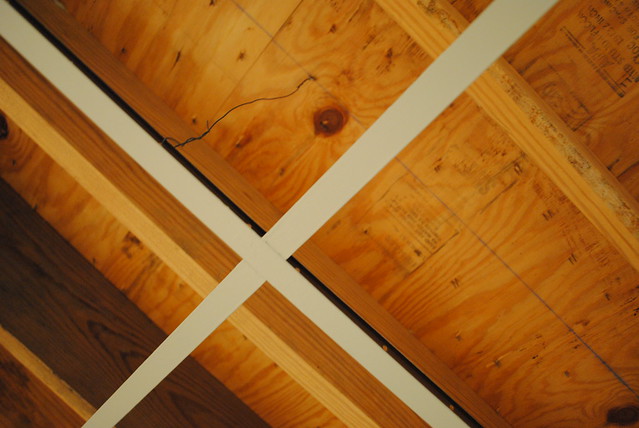
In the end we chose option #2. We had both an electrician and a plumber weigh in on whether or not we should go for the "real ceiling" look, and both said they wouldn't do it. In the ceiling of many basements lie all kinds of pipes and ducts and junk, and cutting yourself off from those things can only make for a headache down the line. Basically, you'll have to cut holes in your ceiling (and hope you can patch them up pretty well) if / WHEN something starts leaking or otherwise goes wrong. Us? We can pull out the tile, fix the problem, and pop the tile back in. If it gets damaged along the way, we can just buy a new one.
Another issue with option 1? More expensive. And our DIY skills didn't stretch that far. Plus, it's just a basement. A play room.
So, that left us with #2. Make the drop ceiling look more attractive. We toyed with the idea of making rectangle holes into square holes by adding some extra metal bars (and then buying square replacement tiles). Perhaps square tiles are a bit more up-to-date? But we added up the dough and it would have cost us at least $500 to do that. The extra metal bars + more expensive square tiles = NOT WORTH IT. To us, at least.
However, we could inexpensively update the look of the metal grid by simply painting over the ugly dark brown. We asked the paint shop folks, who sold us the correct kind of paint (we chose a light gray), and we covered up the 1985 look for about $15.
{Side note: when painting a ceiling, be sure to wear protective glasses. I was doing some touch ups, and got a big drop of gray paint IN MY EYE. In a panic I screamed for Josh to call poison control, sure I'd soon be getting fitted for a glass eye. IT HURT SO BAD. Gratefully the kind soul on the phone talked me down off the ledge and had me rinse out my eye in the sink. For 20 minutes. Folks, that's a long time to stand over a sink and allow water to rush onto your eyeball. But gratefully all was okay.}
For the ceiling tiles, we chose with the most basic, most boring white ones from Lowe's. Although they've got some pretty fancy options, we thought that it would be best to keep the visual focus off of the ceiling.
For the lighting, we elected to go with recessed can lights. Our electrician was able to get the correct equipment to attach them to the metal grid, and then he sawed holes into the our new tiles to pop the lights into them. Not bad!

Unfortunately for our pocket book, this was an expensive step. $100 per light times 13 of them. My electric skills stop at "install a new light fixture." For this job we were not only changing fixtures, but adding lights and changing locations. So, we ponied up. And the end effect is totally worth it. LET THERE BE LIGHT.

Yes, there just MIGHT be a coat of paint on those walls. More on that later.
If you'd like to see the true "before" pics, check here.


No comments:
Post a Comment