Sunday, February 26, 2012

The Basement Project: Ceiling & Lighting

Um, I started this series in April of last year.  Since it's almost a year later, how 'bout I finish it? 

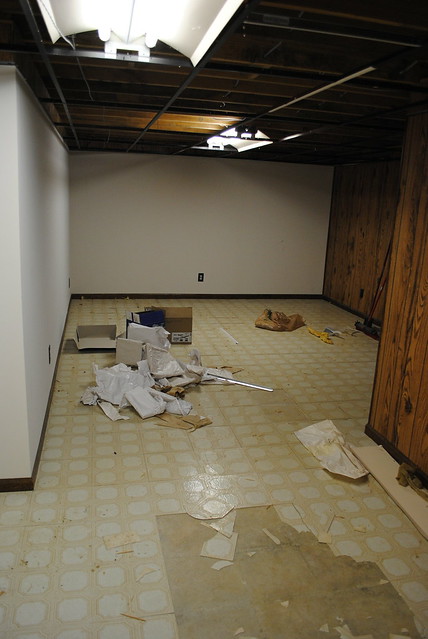
After our we cleaned up the joint, we had to decide how to move forward with updating the ceiling.  The stained ceiling tiles just weren't quite doing it for us.  Go figure.  And the brown metal grid?  Totally 80's.
0117_4268 
Don't be jealous when you check out the lighting, the tiles, the paneling + drywall, and the ceiling.  I know you wish your basement looked like this.
0117_4267
As a part of that decision, we needed to figure out the overhead lighting in the room.  Florescent tubes behind plastic?  Not quite our style.  Also, it was just dim (read: scary) down there all the time. Time for us to ramp up the wattage.  We've found that simply adding additional lighting in a basement ratchets back the "creepy" factor a good deal.

For the ceiling, we first had to decide between these two options:
1. Drywall / Real Ceiling
2. Make the drop ceiling look more attractive.

In the end we chose option #2.  We had both an electrician and a plumber weigh in on whether or not we should go for the "real ceiling" look, and both said they wouldn't do it.  In the ceiling of many basements lie all kinds of pipes and ducts and junk, and cutting yourself off from those things can only make for a headache down the line.  Basically, you'll have to cut holes in your ceiling (and hope you can patch them up pretty well) if / WHEN something starts leaking or otherwise goes wrong.  Us?  We can pull out the tile, fix the problem, and pop the tile back in.  If it gets damaged along the way, we can just buy a new one.
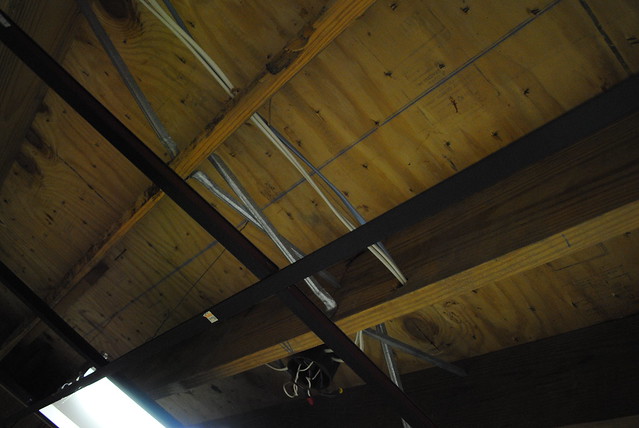
0117_4275
Another issue with option 1?  More expensive.  And our DIY skills didn't stretch that far.  Plus, it's just a basement.  A play room. 

So, that left us with #2.  Make the drop ceiling look more attractive.  We toyed with the idea of making rectangle holes into square holes by adding some extra metal bars (and then buying square replacement tiles).   Perhaps square tiles are a bit more up-to-date?  But we added up the dough and it would have cost us at least $500 to do that.  The extra metal bars + more expensive square tiles = NOT WORTH IT.  To us, at least. 

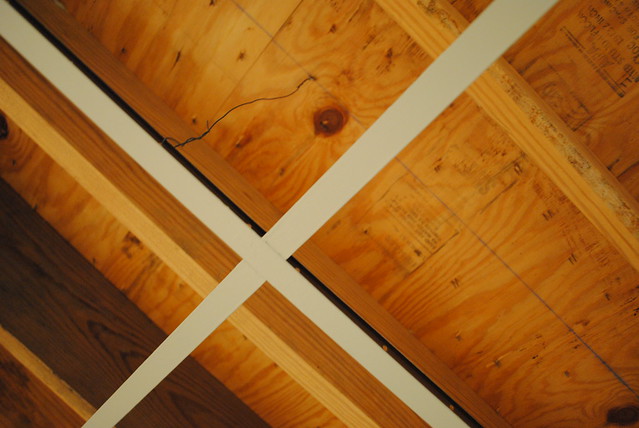
However, we could inexpensively update the look of the metal grid by simply painting over the ugly dark brown.  We asked the paint shop folks, who sold us the correct kind of paint (we chose a light gray), and we covered up the 1985 look for about $15.
0122_4427
{Side note: when painting a ceiling, be sure to wear protective glasses.  I was doing some touch ups, and got a big drop of gray paint IN MY EYE.  In a panic I screamed for Josh to call poison control, sure I'd soon be getting fitted for a glass eye.  IT HURT SO BAD.  Gratefully the kind soul on the phone talked me down off the ledge and had me rinse out my eye in the sink.  For 20 minutes.  Folks, that's a long time to stand over a sink and allow water to rush onto your eyeball.  But gratefully all was okay.}

For the ceiling tiles, we chose with the most basic, most boring white ones from Lowe's.  Although they've got some pretty fancy options, we thought that it would be best to keep the visual focus off of the ceiling. 

For the lighting, we elected to go with recessed can lights.  Our electrician was able to get the correct equipment to attach them to the metal grid, and then he sawed holes into the our new tiles to pop the lights into them.  Not bad!
0122_4417

Unfortunately for our pocket book, this was an expensive step.   $100 per light times 13 of them.  My electric skills stop at "install a new light fixture."  For this job we were not only changing fixtures, but adding lights and changing locations.  So, we ponied up.  And the end effect is totally worth it.  LET THERE BE LIGHT. 0122_4415
Yes, there just MIGHT be a coat of paint on those walls. More on that later.

If you'd like to see the true "before" pics, check here.

Saturday, February 18, 2012

Advice needed: Baby hair.

We've got this toddler.
0201_9233
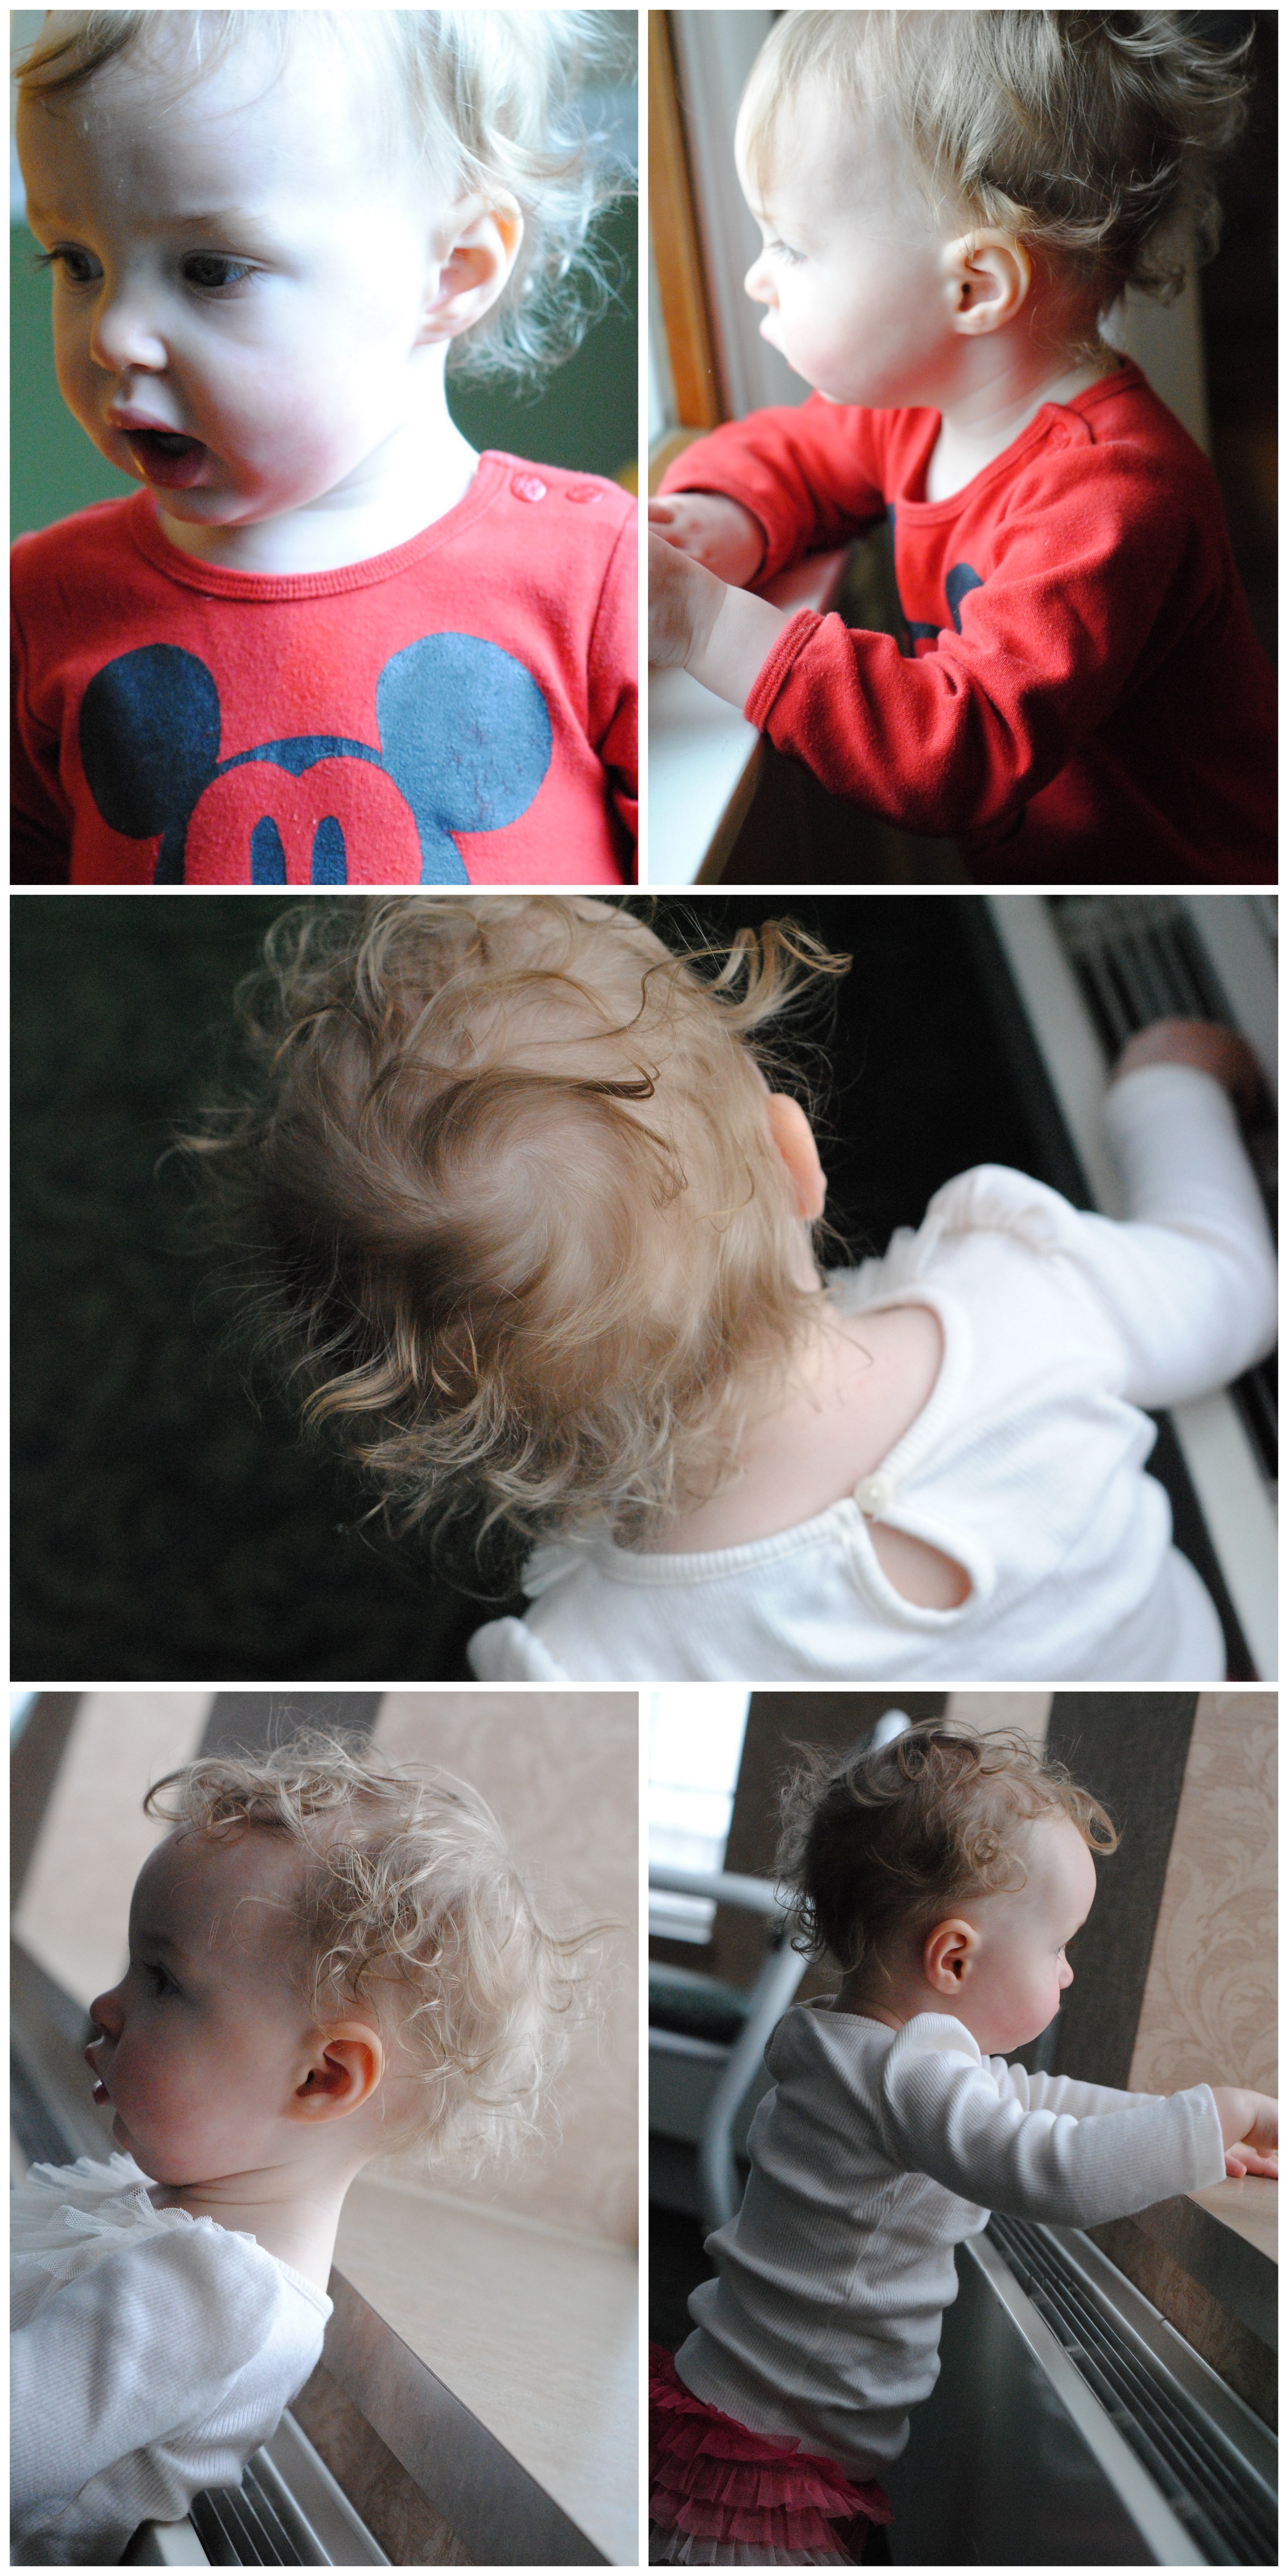
She's slowly but surely getting a baby mullet.

Sometimes it's nice and curly.
27 Curls

Sometimes it's nice and wavy.
Florida

Most of the time, however?  It's matted and snarly and she looks like no one loves her.
Collages

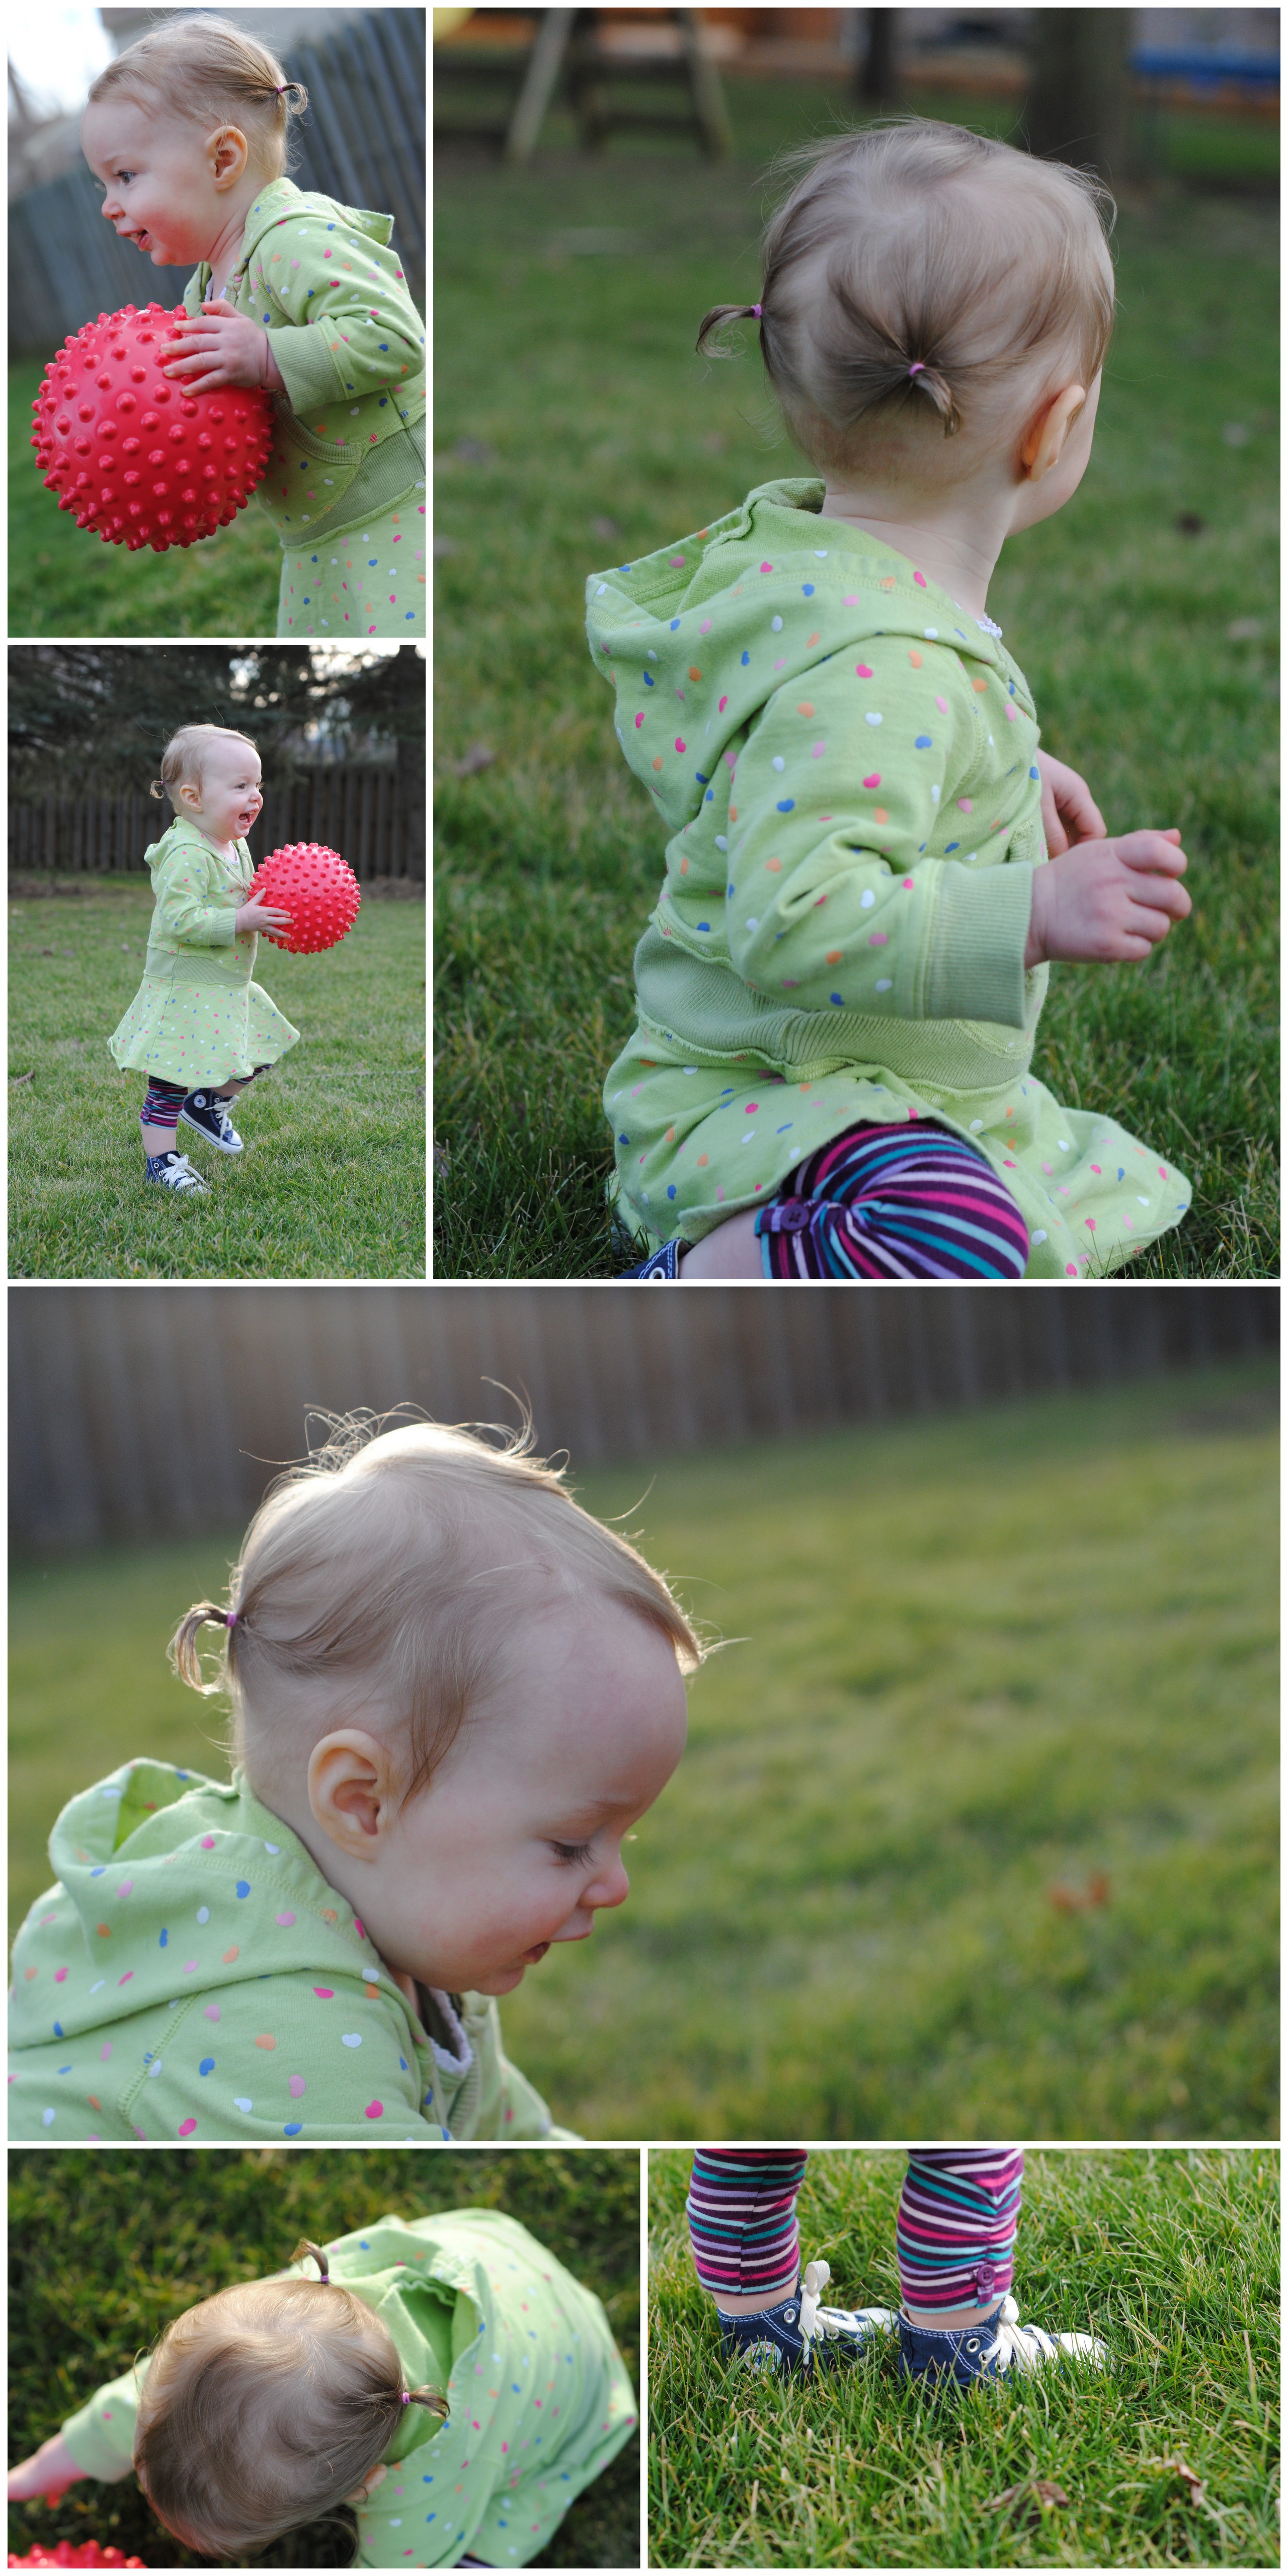
I've tried pigtails.  They totally melt my heart.
01 Backyard - Pigtails
However, her hair is so thin that the rubber bands move around/fall out pretty quickly.  And barrettes are instantly lost.

So, Internet, give me your best recommendations.  Product?  A wash/comb cycle?  A (sniff, sniff) haircut?  Just let it be?

Wednesday, February 15, 2012

Freezer Paper Stenciling

Like the rest of the world, it seems, I've been enjoying Pinterest.  And my latest Pinterest-induced crafting interest?
Freezer Paper3
Let me just tell you, this is SO EASY.  SO FUN.  SO ADDICTING.

I stumbled across this link, which first caught my interest because it was about how to DIY Disney t-shirts for your kids.  And I just happened to be in the midst of planning a trip to Disney.  Score.


In a nutshell, here's how it works.
Tools Needed:
Freezer paper - NOT wax paper (find it near aluminum foil at the grocery store)
Craft knife
Fabric paint - find it at any craft store.
T-shirt (or whatever you plan to stamp your image onto)... I've found nice options at thrift stores and Wal-Mart.

Instructions:
1. Find an image you want to use.

For me, that has meant scrolling through google images and selecting some nice, simple options.  Either that or finding a font I like and printing off a letter/word.  {Otherwise jump to #2 and just draw an image onto freezer paper.}

2. Trace the image onto freezer paper.

3. Using an inexpensive craft knife, cut out the image to create a custom stencil.

4. Iron the freezer paper image onto your t-shirt.

5. Using a cheap foam paint brush, dab fabric paint onto your stencil/t-shirt.  You'll want to let your initial coat dry and then add another layer.  I've found that 3-4 coats works well.

6. Let it dry for at least 4-5 hours, and then peel off the freezer paper.

VOILA.  Custom shirt.  And you don't even need to sew.

I made this one - Pluto was my favorite Disney character as a child.
2012 Random

My mom made this one:
MM
I've also made several birthday/baby gifts.  Like I said, I'm hooked.

I've stumbled across a few more examples of this technique... fun, aren't they?

Monday, January 30, 2012

Harrison

I've been doing some babysitting lately for a certain little guy, who is the son of some of our good friends.  He's three months old.

0126_7691

Yep, it's busy with two little kids.  Yes, we totally rock out a double stroller when we're out in public.  And yes, it's fun to spend time with a baby who actually likes to snuggle.
0126_7674

Anyway, I had a little fun with him + my camera this past week. 0126_7773

How adorable is this child? 0126_7761


Dimples!
0126_7798

He's totally sweet.0126_7810

Tough guy pose. 0126_7816

The bumbo seat was a new experience for him. Clearly. 0126_7835

But he warmed up to the idea.
0126_7844

It provides a great angle from which to watch a very busy 14-month-old. 0126_7889

Diaper blowout = new outfit!
0126_7919

This one makes me laugh each time I see it. 0126_7928

And this one's my favorite: 0126_7750

Sunday, January 29, 2012

Favorite Baby Hat

When Caroline was an itty bitty baby, we had a go-to hat choice for her.

We got complimented on it every time we took her out. 1123_1948-1
It was warm and soft and fit her sweet little newborn head perfectly. I'd gotten it as a gift from my cousin Christina at one of my baby showers. She'd just started making them at that point.

And now, wouldn't you know, she sells them. On etsy. Right here! You can get your own, or else purchase one as a baby gift.  And she actually has a bunch of adorable baby clothes for sale.  And you just might see a certain Brown baby used as a model for one of the dresses.

Check it out, y'all.  Adorable handmade baby hats. 

Friday, January 6, 2012

No mama in sight.

She's 13 months now.  Closer to 14, actually.
0101_7592

She's in that unique in-between stage where she's not quite a baby, not quite a toddler.
0101_7598

She mostly walks, but still crawls from time to time.
0101_7625

She's great at feeding herself at every meal, and yet still drinks milk from a bottle (yes, we are those parents).

0101_7615


Her vocabulary (both signing and speaking) grows weekly, but she still often resorts to whines and gestures to get her point across.
0106_7579

She can walk on her own, but still needs to be carried into stores and restaurants.
0106_7552

She wears shoes every day, but still sleeps in blanket sleepers. And in a crib.
0106_7556

And MAN is she busy.
0106_7584

The second I wipe finger prints off of the bottom of the fridge, she's over there kissing her reflection.  As soon as we put books away, she pulls them from the shelves.  Her tiny fingers are constantly grabbing at silverware out of the dishwasher and laundry out of baskets. 
0101_7623

And the wheels are always turning.  I love seeing a look of concentration on her face.  She's so fun these days.  And a lot of work.
0101_7603

Okay.  Back to that vocabulary.
0106_7559

In terms of signing, we've got the following:
More.
All done.
Milk.
We're working on water, book, please, and thank you.
0106_7549
And real words?
Da-da
Ah-da (all done)
Ca-ca (cracker)
Na-na (banana)
Uh-oh

Notice anything missing from that list?
Yeah, me too.

But I guess we'll keep her.
0106_7550

Saturday, December 31, 2011

What I loved about Christmas 2011.

No order to this list.  Some are serious, most are not.  Each one brings a smile to my face as I remember it.

1. Celebrating God's greatest Gift with these two (numbers 2 and 3 in my book!)
1225_7553-1

2. My girl started walking.  Like, for real.

She started taking a few steps in early December.  But they were few and far between.  During our week in Michigan, however, she became a walking fool.
1224_7779-1 
 
1225_7563-1
She that proud grin?  Yeah, she bit it on the sidewalk right after I snapped that.  Check out the red mark on her forehead in some of the other pics.

3. Aiydan and Gray (my cousin's son) were so adorable, playing together on Christmas Eve.
1224_7855 
  1224_7824
Yes, I included a blurry picture on purpose.  That's because it's how I remember the two of them.

4. All of us kids got new PJ's. 1224_7917-1 But Ben's stole the show.
1224_7903
Adult footie jammies.  With a back hatch and everything.

 Caroline's were too long, but Montoya fixed that with a pony-tail holder.
1224_7871

6. We met Mia, who is the new daughter of Josh's cousin Lacey.  Now that we've got a active, often-destructive, big girl on our hands, it's fun to hold little bitty babies that are so sweet and snuggly.  Here's Mia, Baylee (Lacey's older girl) and Caroline.  And "Lovey Dog," who is Caroline's constant companion.
1223_7956

5. Starting in early December, we attempted to sit down daily as a family and pieces of the story of Jesus, starting with his ancestors.  A Jesse Tree devotional.  Each day we'd sit down and read a different story - Abraham and Isaac, or Moses, or some other piece to the larger story.  We didn't do this perfectly, by a long shot.  But it's important to me to build traditions in our family, especially as Caroline gets older.  And those times of prayer and remembering and preparation for Christmas were precious to me this year.

7. Caroline loooooved Opa and Oma's Christmas tree.  We were lame at our house and didn't put one up.  (Don't judge!  By the time we got around to it, it was a week before we were scheduled to leave for Michigan.  AND now we don't the hassle of taking it down to look forward to.)  Anyway.  Caroline thought it was way cool.
1225_7606 
  1225_7687
8.  On Christmas night, we went over to my aunt and uncle's house for my cousin Natasha's birthday party.  A big group of aunts, uncles, and cousins sat around and told old family stories. Stupid pranks.  Grown-up shaving cream fights.  Hand stand contests. 

What a fun, if slightly dysfunctional, bunch of folks.  I'm thankful to be among them.

9. My brother's new girlfriend impressed everyone with her ability to slice the top off of a champagne bottle with a butter knife.  She fits into our family real well, that one.

10. Christmas in Grand Rapids is what I grew up with, and on some level just seems right.  I so enjoy being at my parents' house, opening presents in the same living room that I did when I was six.  The late-night drive through East Grand Rapids (where they put up luminaries) on Christmas Eve is a long-standing tradition.  As is having certain cousins over on that night.

Actually, growing up, we used to pile in a minivan, sitting on top of each other, and do the luminary drive.  During which time we both sang Christmas carols as loudly as possible and criticized everyone else's light displays.  But our numbers have grown and babies make it difficult to all get out late at night.  So we kissed that part goodbye for this year.  But the cousin part was mostly still there.

A late Merry Christmas to you, Internet.  Here are a few more pics of our festivities. 201110